Link to Instagram Video (IGTV) of me making the frames is at the end of this page…
This DIY project came about when I was gifted some lovely prints from @elishomeaccesories. I knew I wanted them in the bathroom, but the question was, what colour frames did we want?
As per usual I asked in my instagram stories and the lovely woman behind @welcometothewajus suggested clear frames. I instantly went on Pinterest and found so many beautiful examples of clear acrylic floating frames and I was SOLD!
This is MARCH’S DIY Project- My floating frames
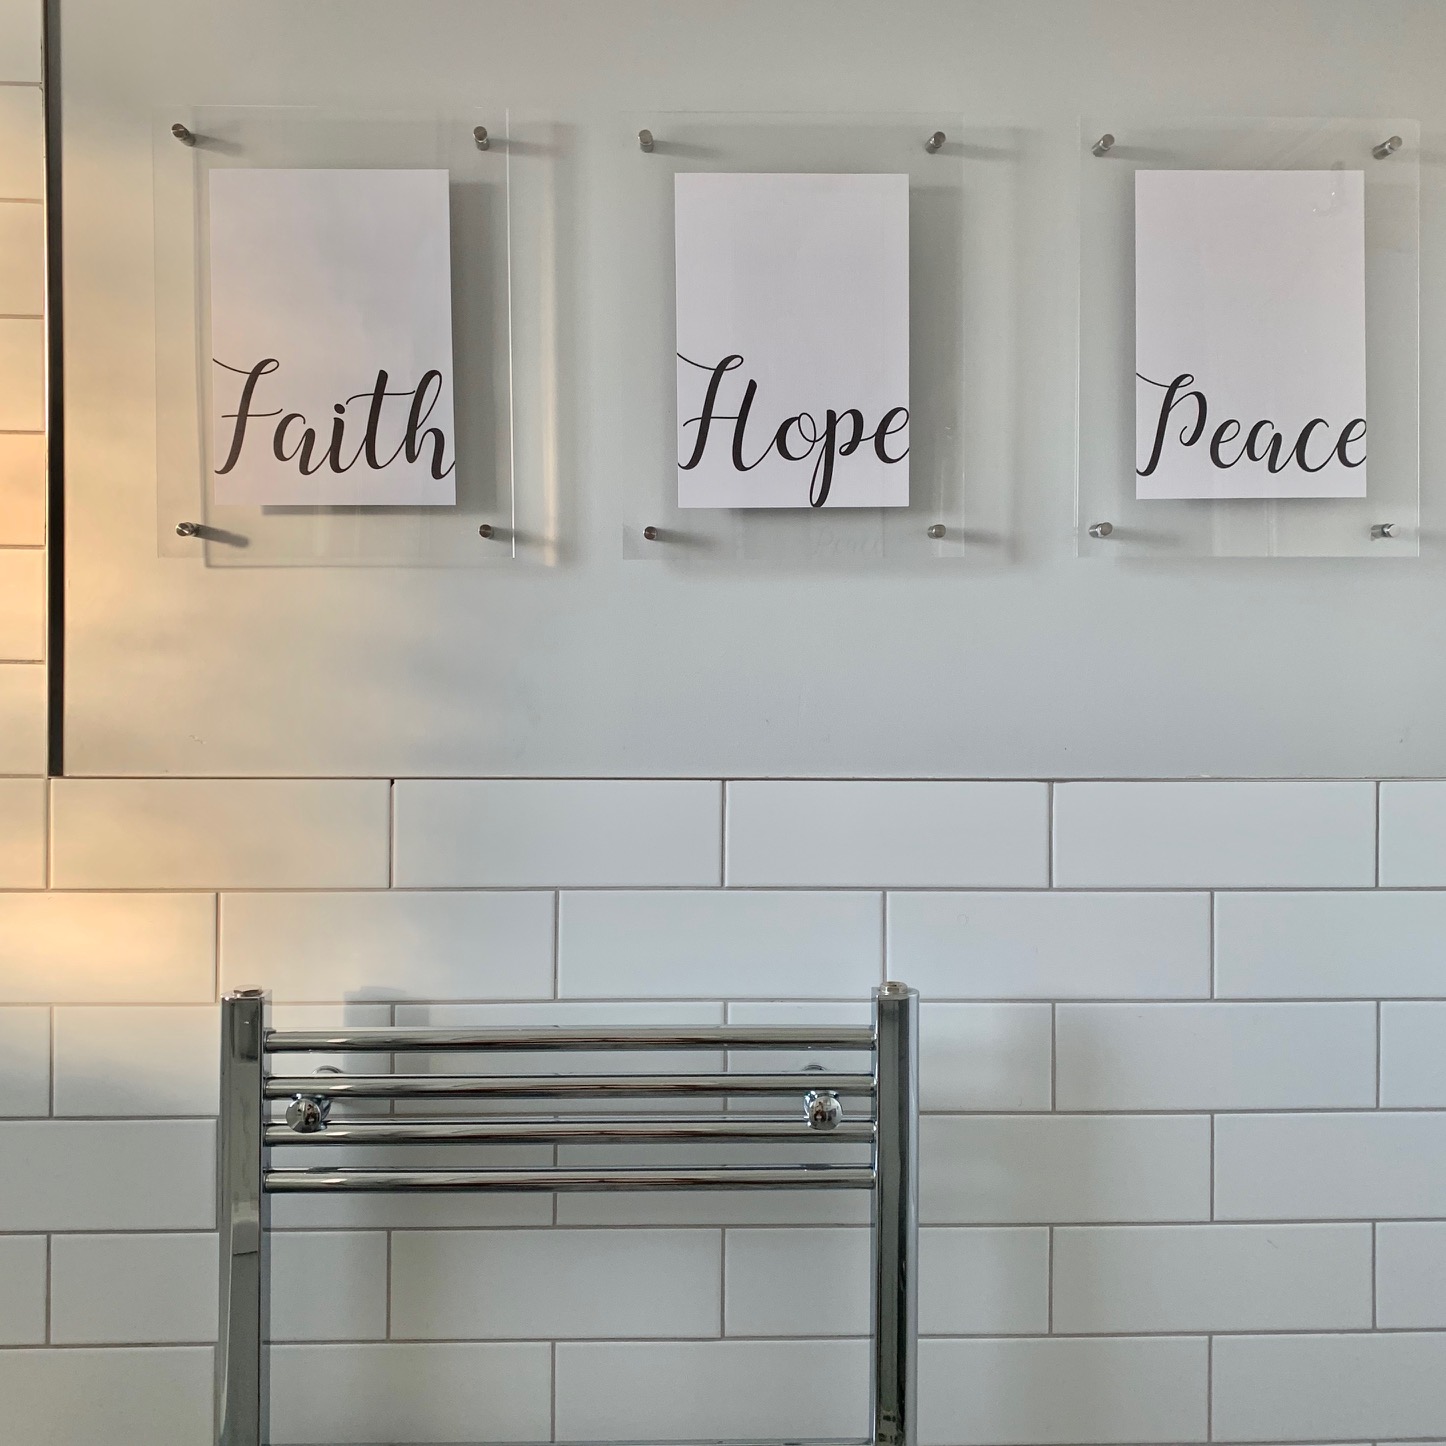
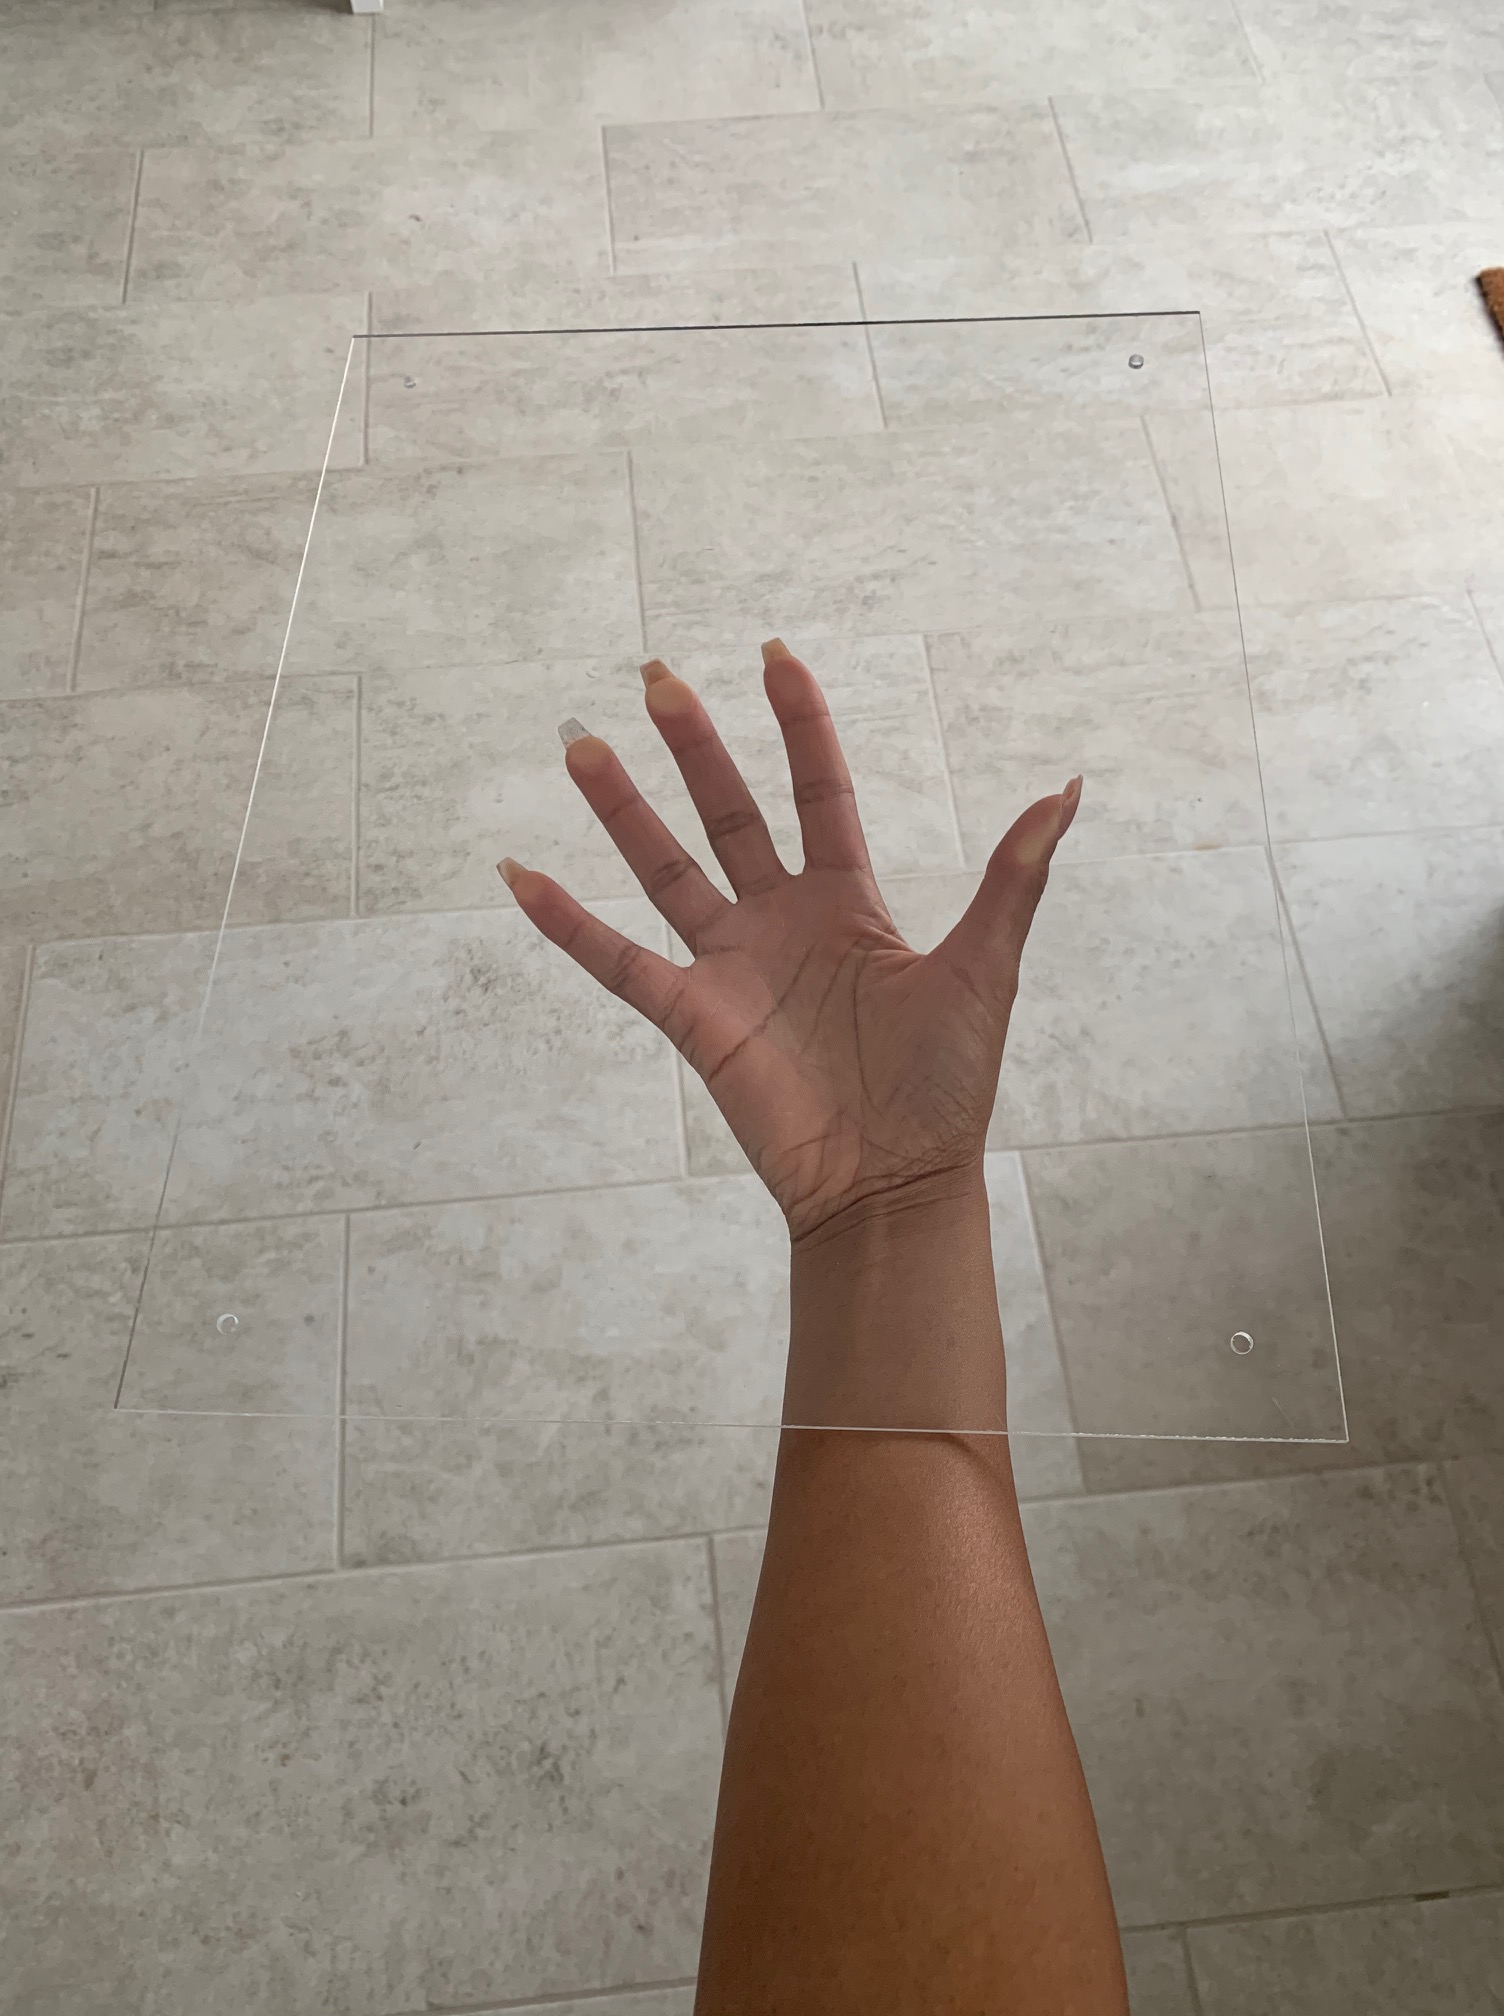
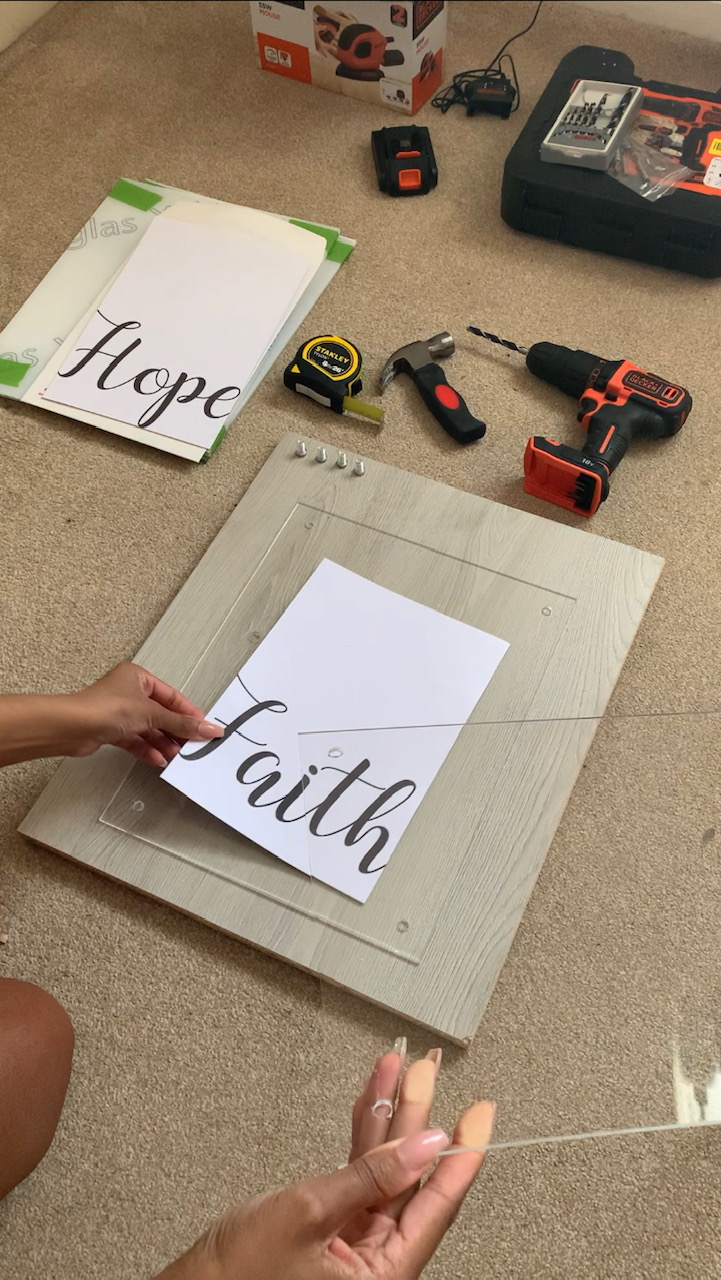
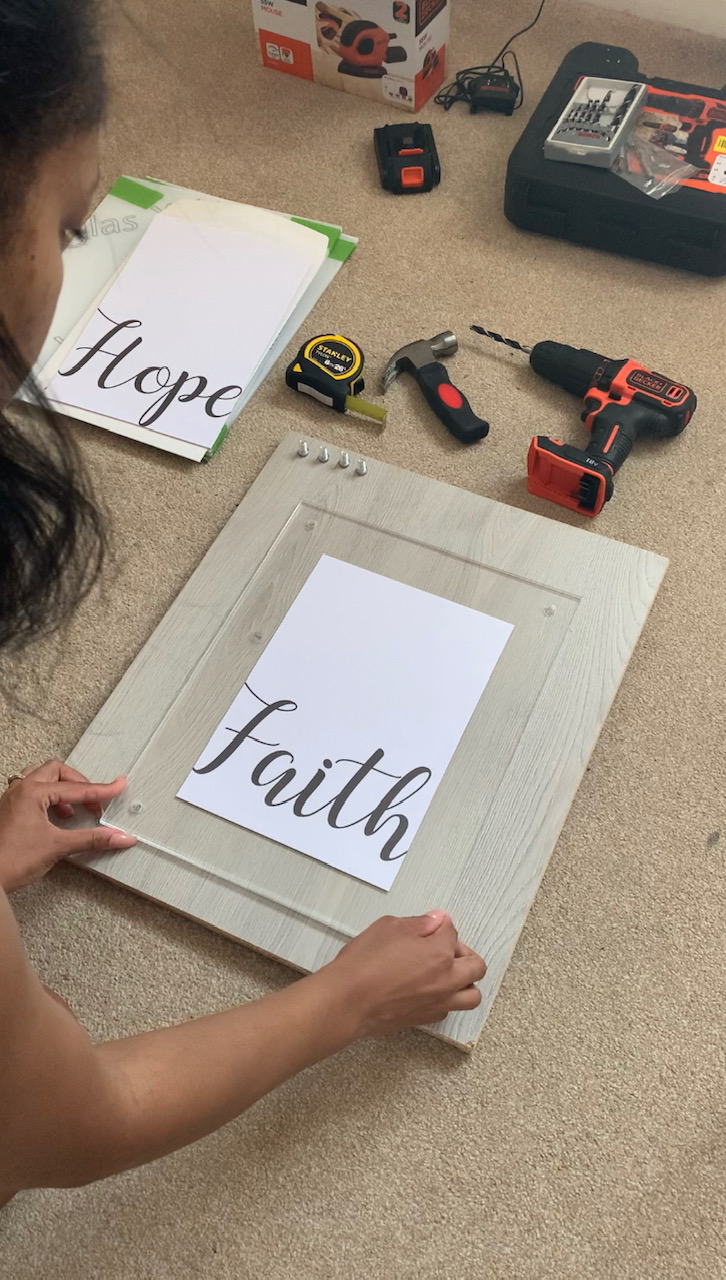
The prints I received were A4 (21cm x 29.7cm), so I worked out the measurements I wanted for the frames. I wanted them to have around a 5cm border around the prints so went for a width of 31cm and a height of 39.7cm. Each frame would need 2 acrylic sheets which would cover both sides of the print.
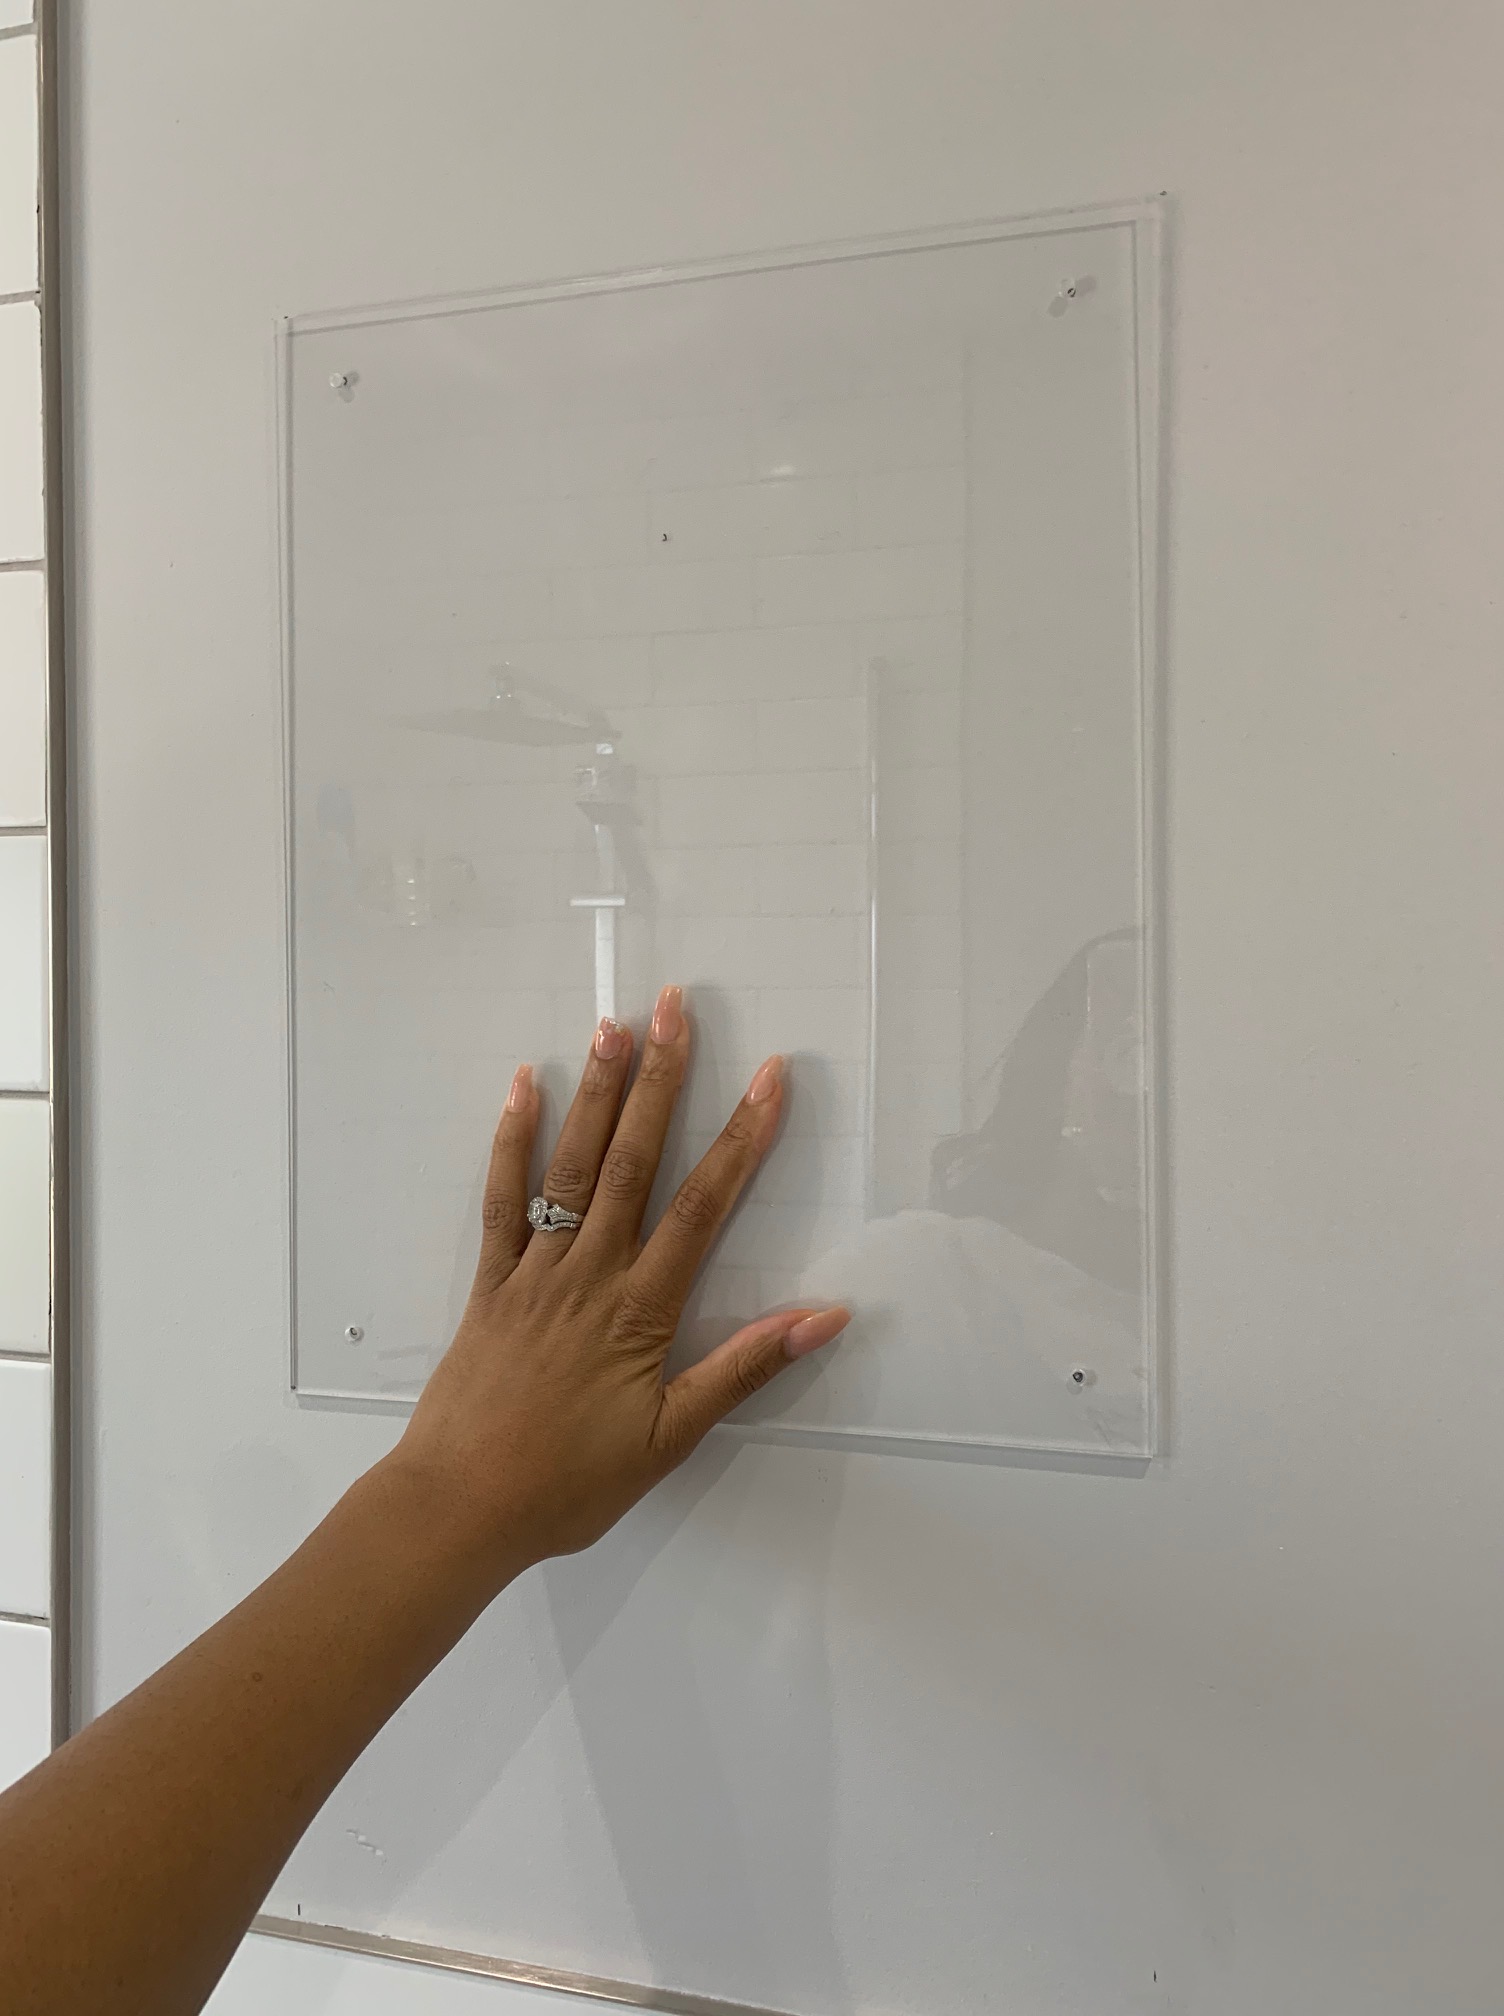
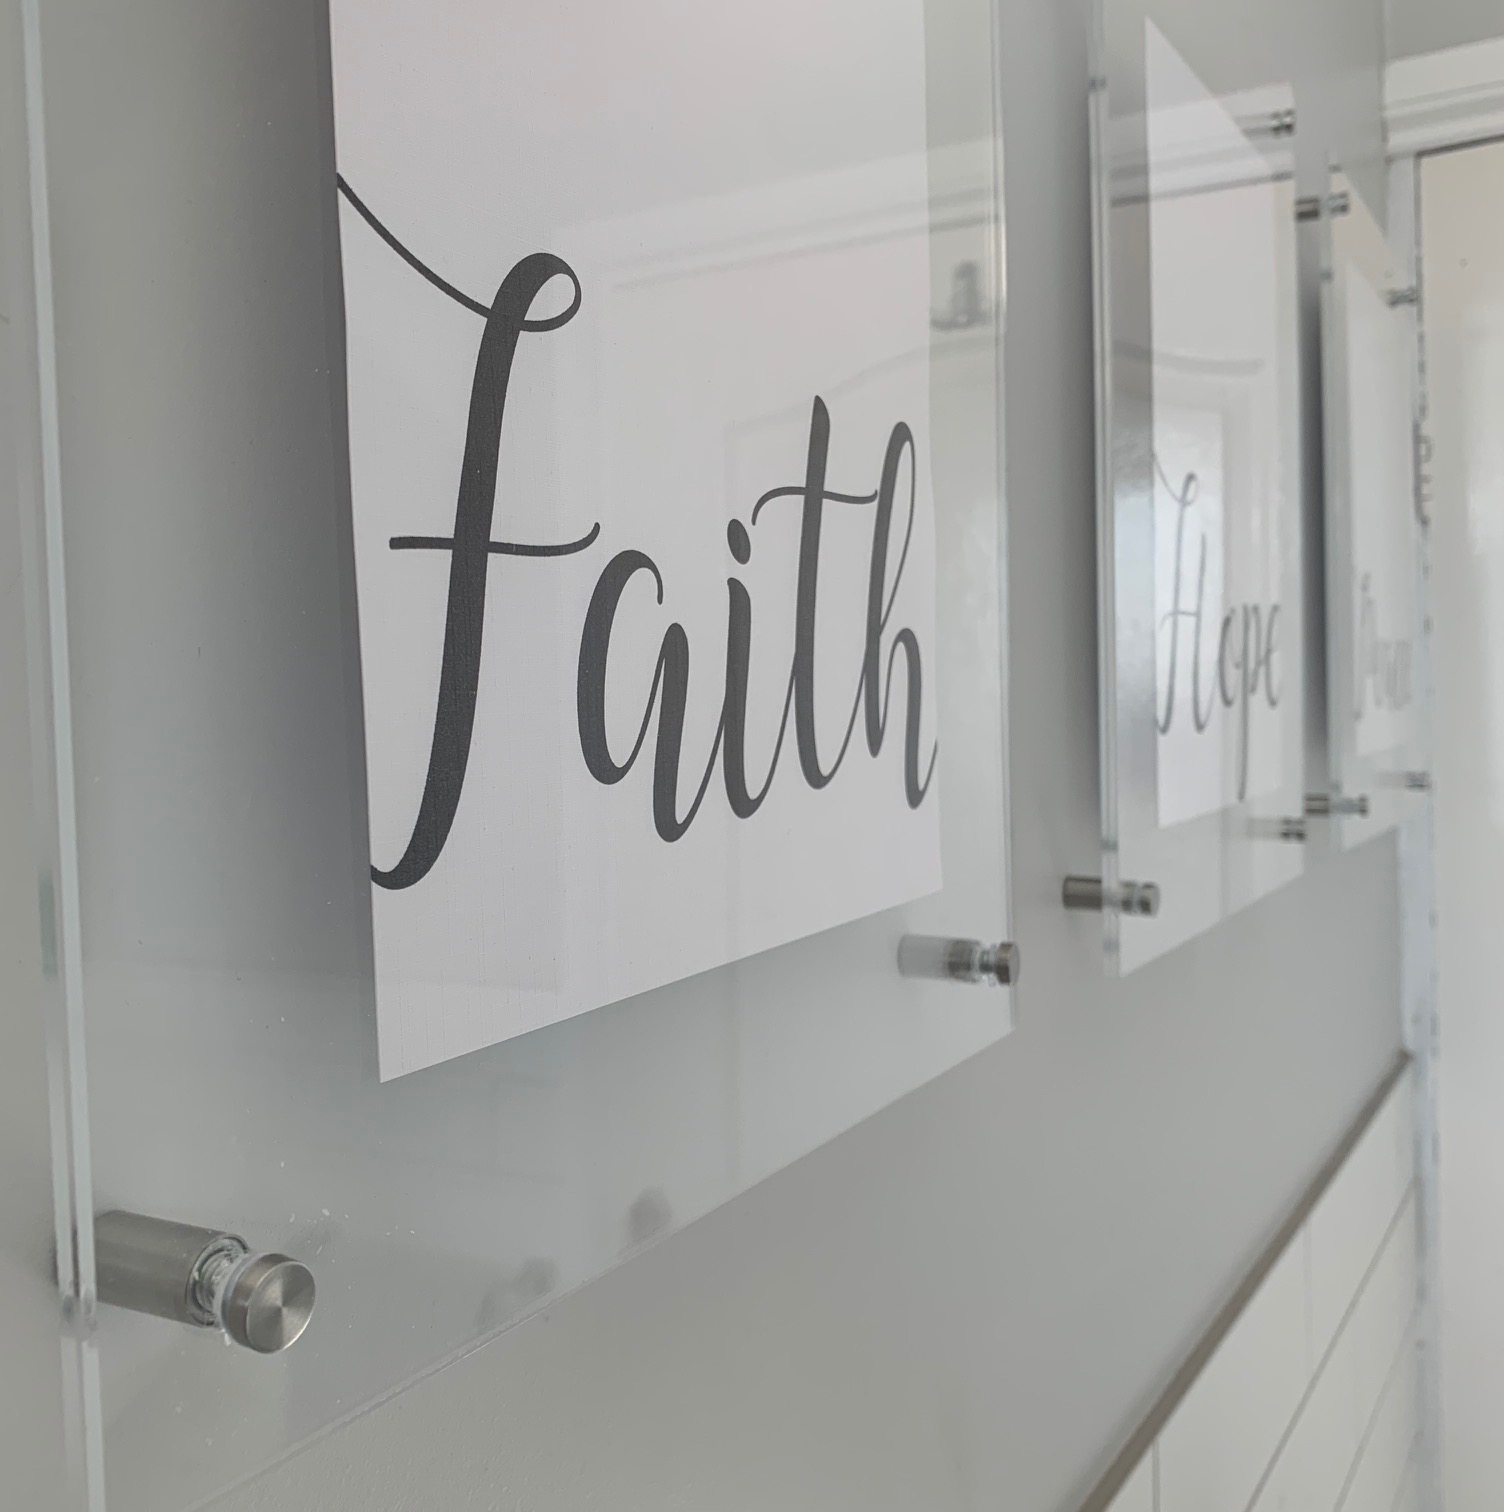
The amazing people at Sheet Plastics gifted me the 6 acrylic sheets I needed. These acrylic sheets were 3mm thick, had polished edges and had holes drilled in each of the corners.
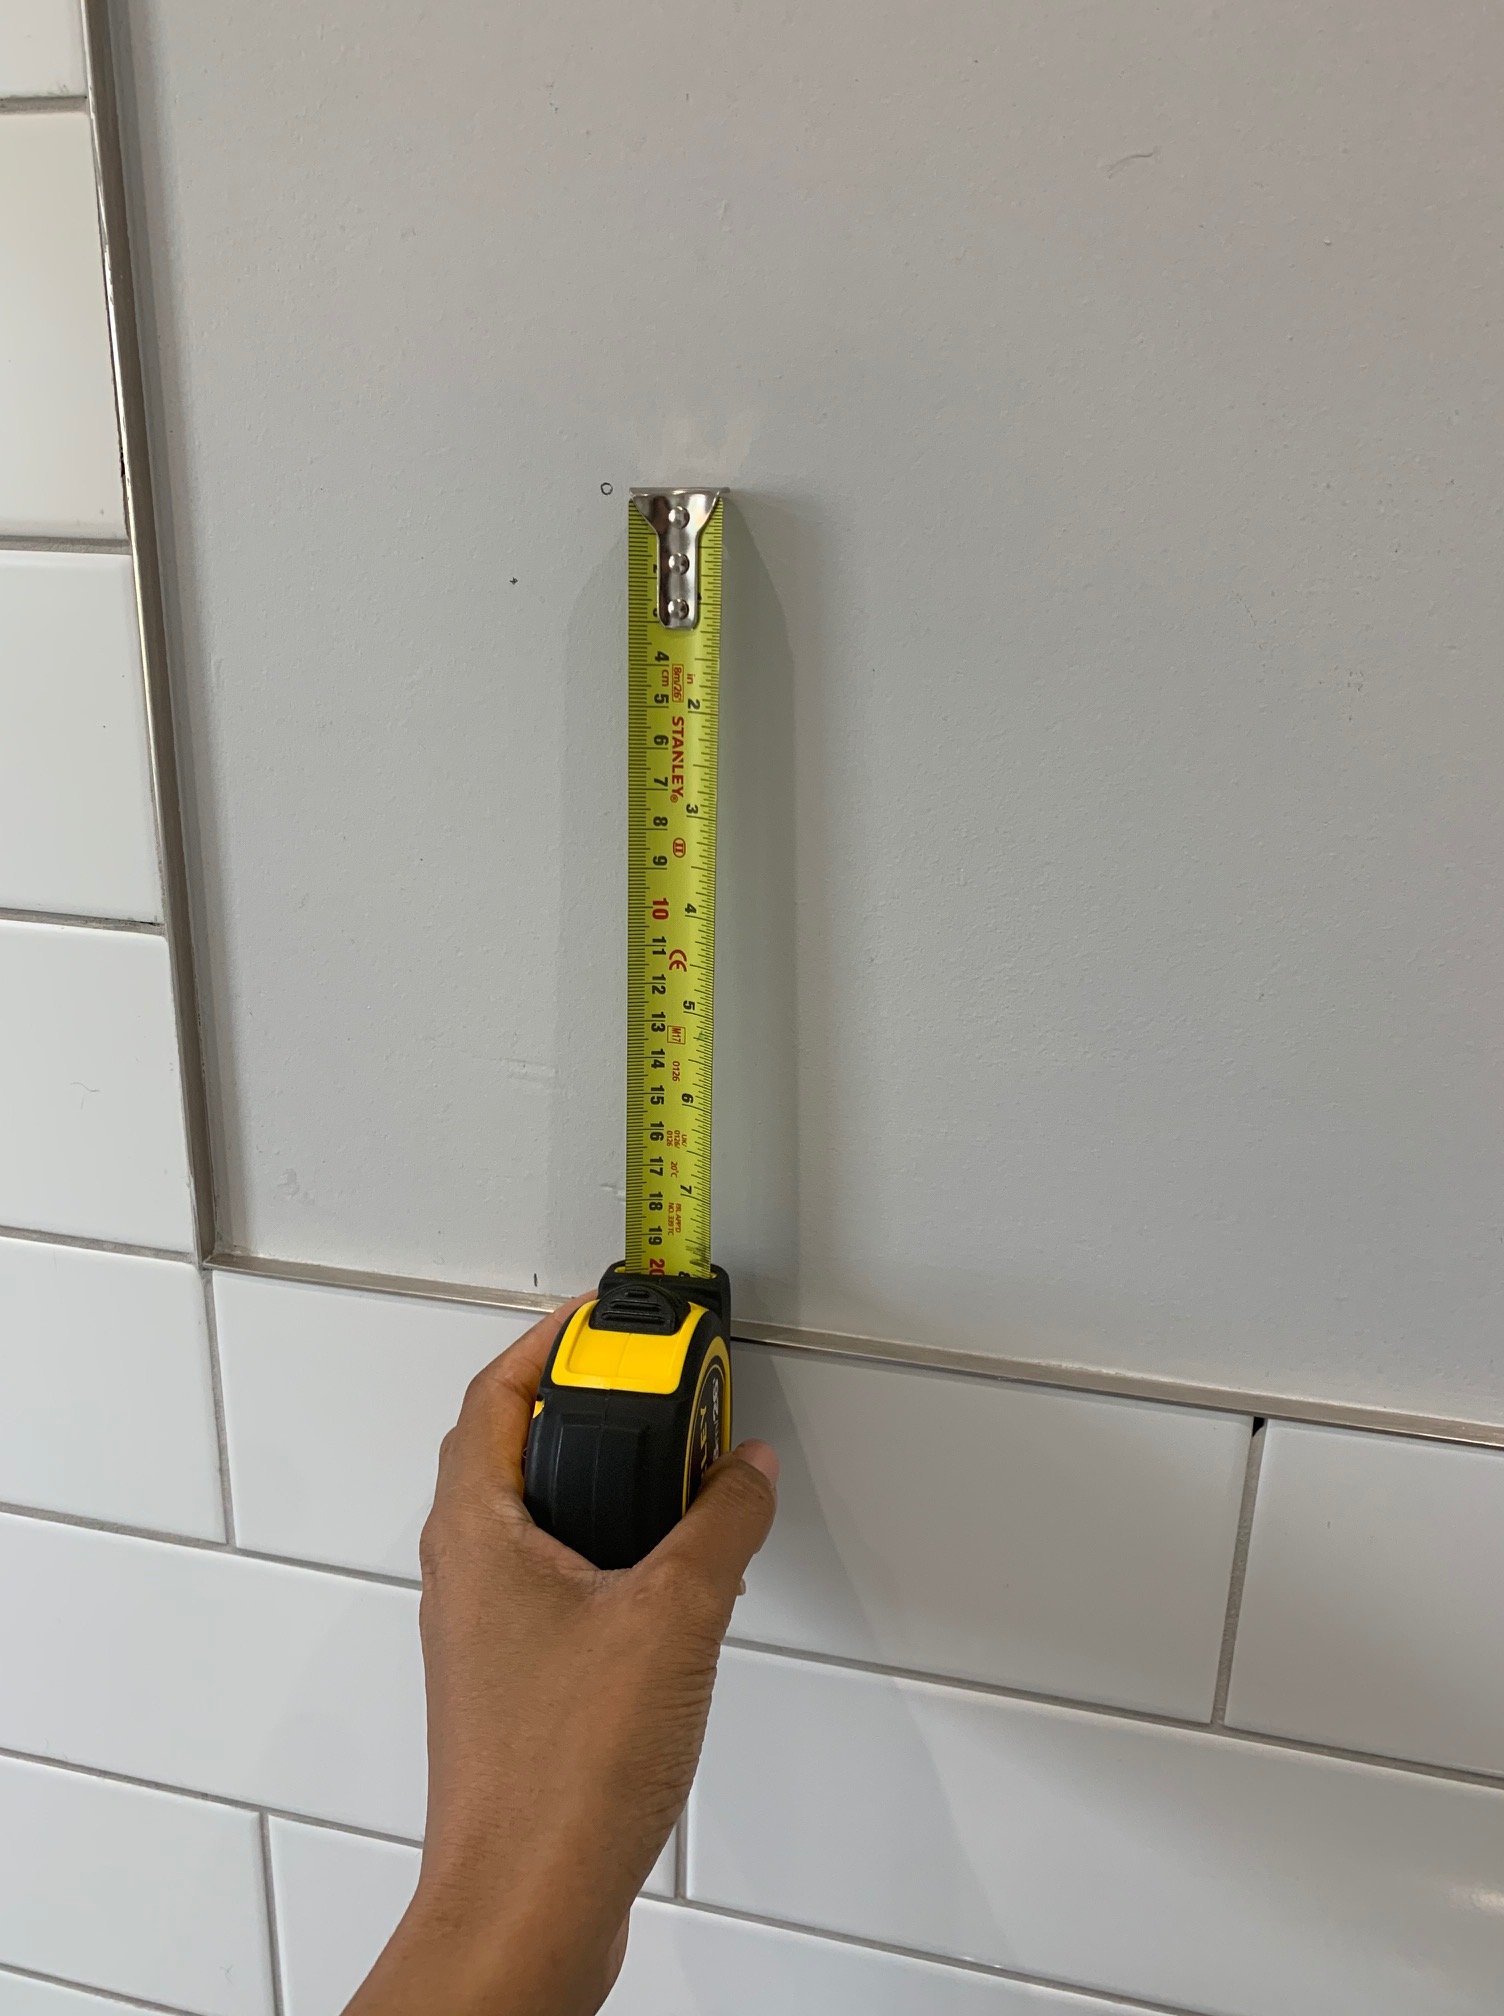
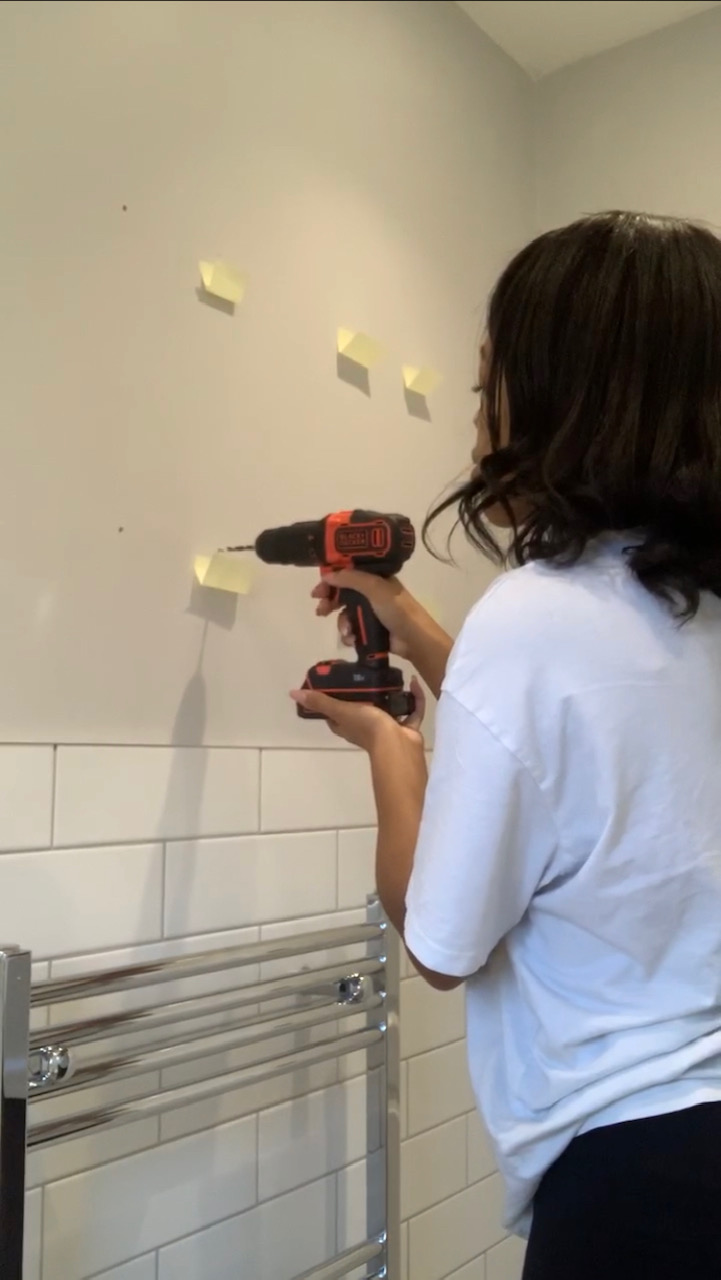
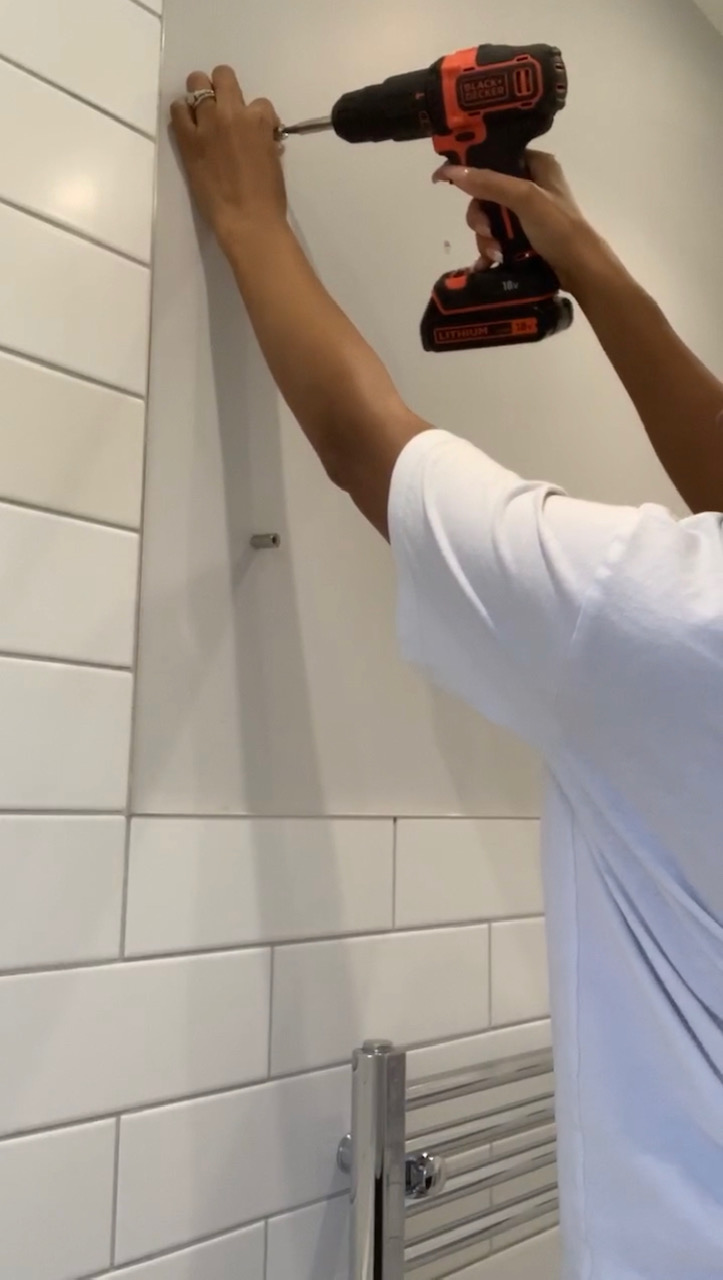
I measured out where I wanted the frames to be and marked the wall for for the drill holes
It would be ideal to use a spirit level to ensure they will be lined up correctly- I didn’t have one so I was just hoping for the best!
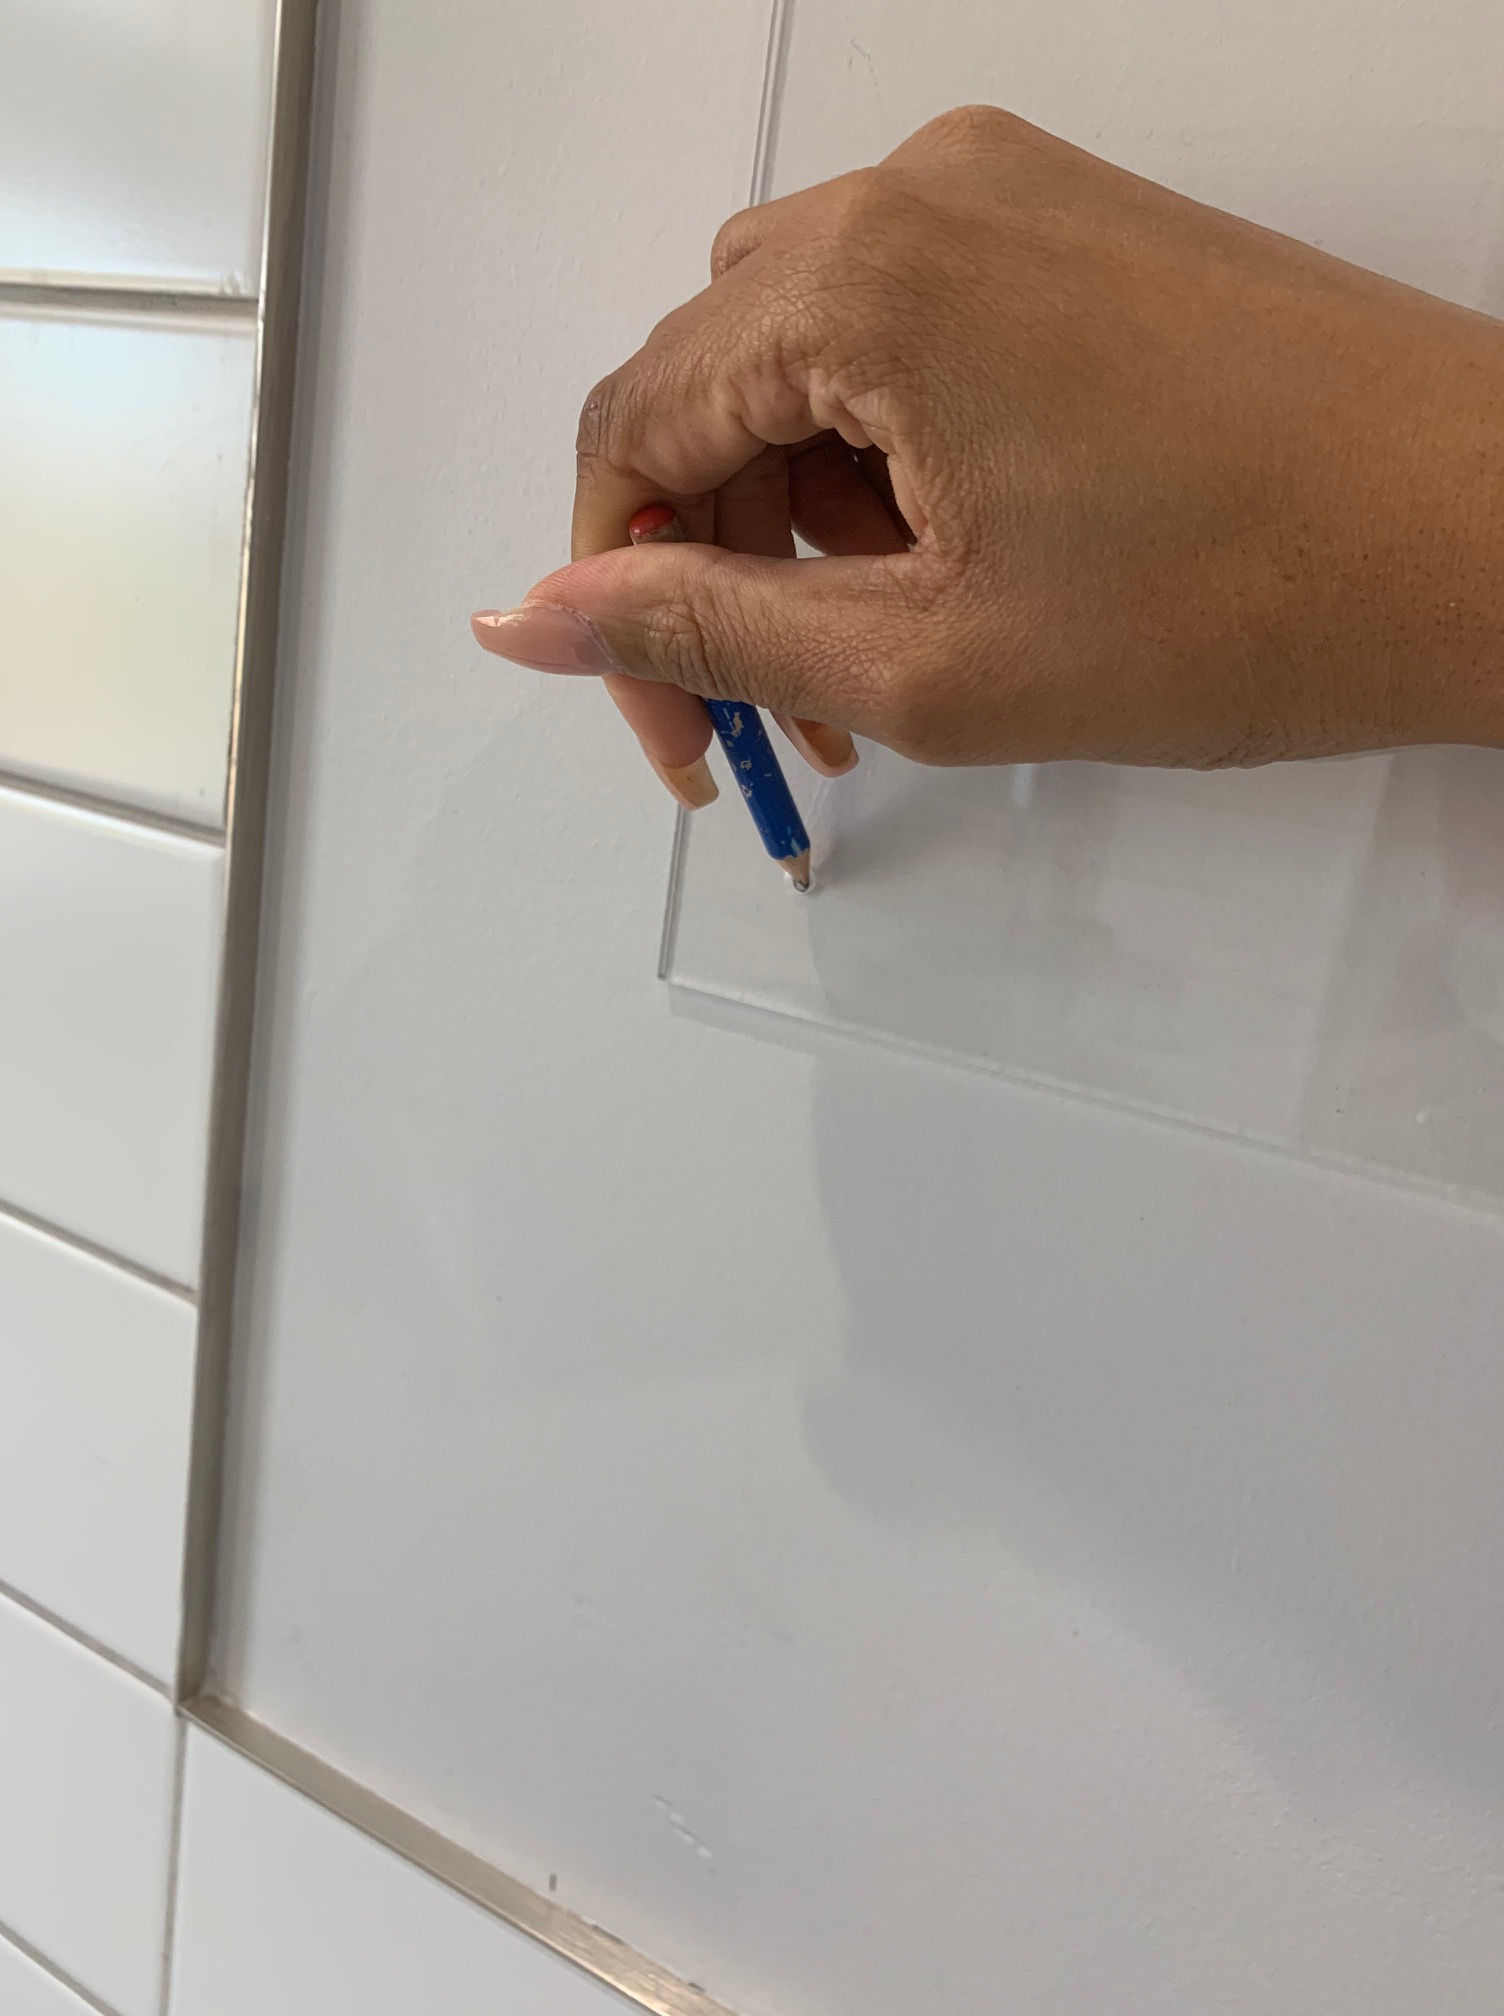
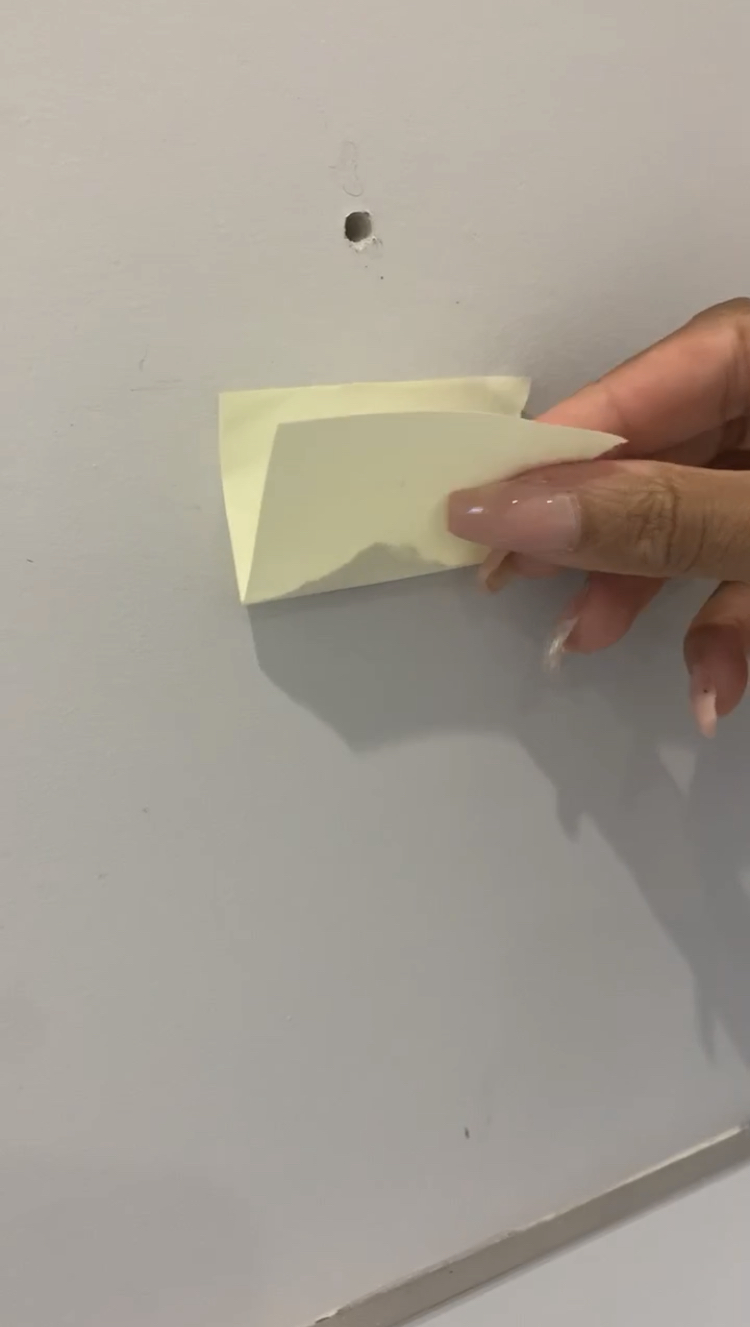
Once the holes were marked, I placed a post-it note underneath each hole to catch the dust. I then drilled each hole.
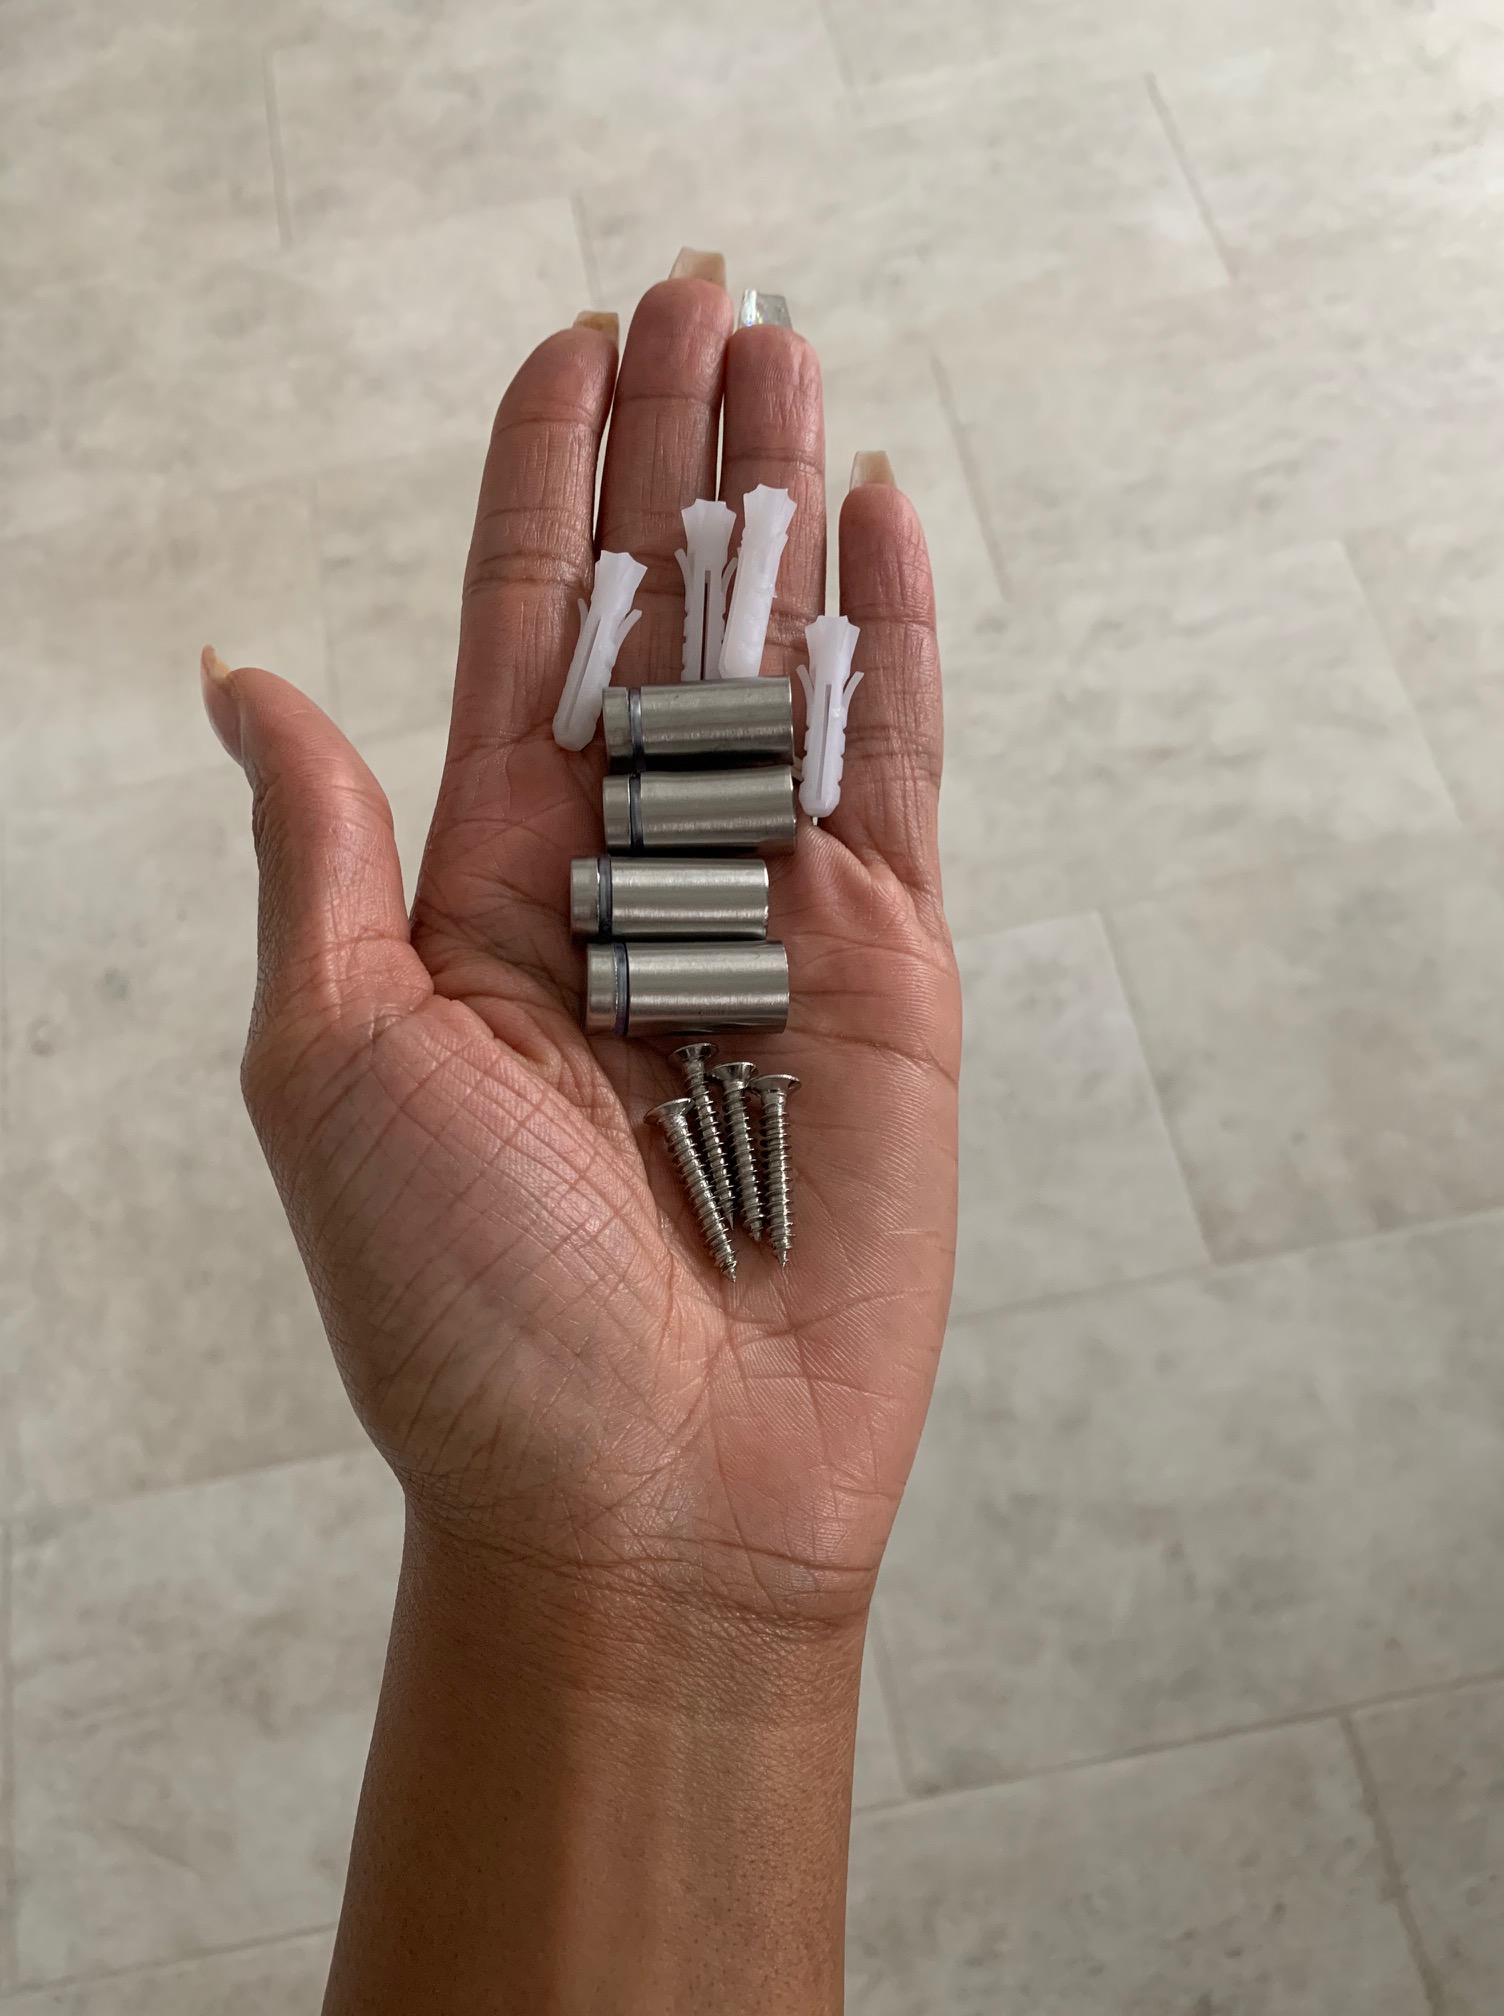
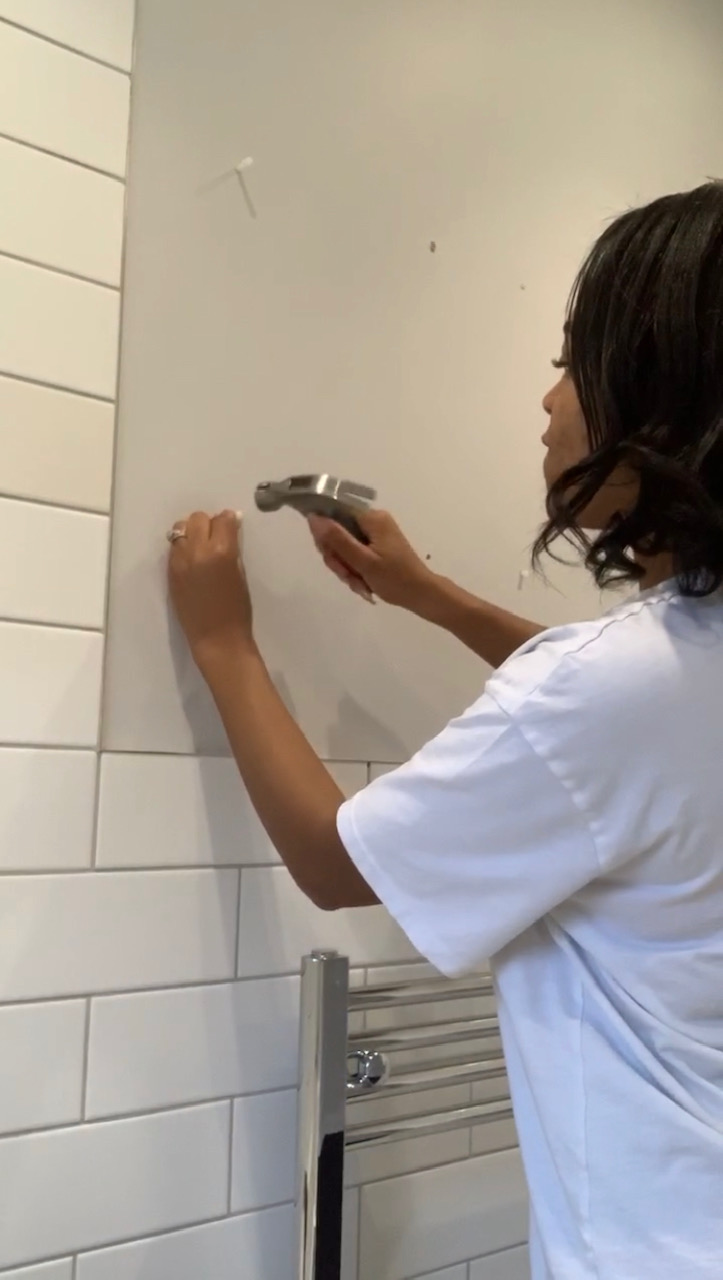
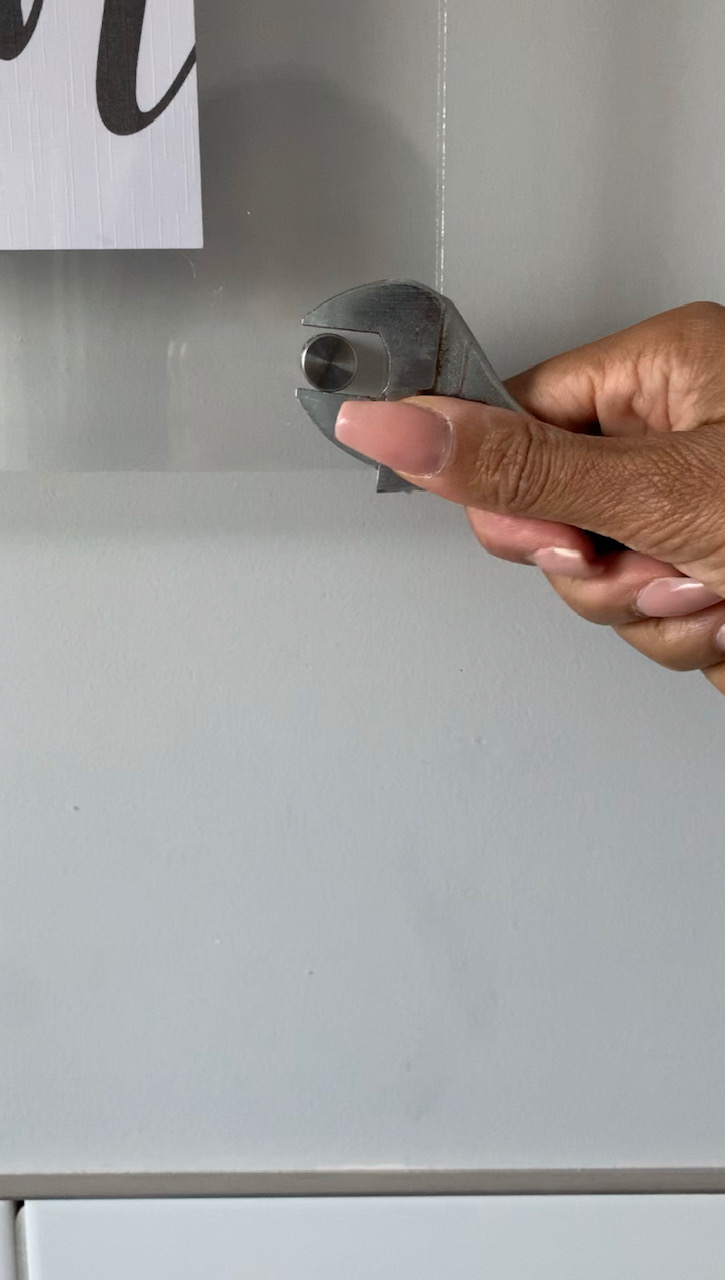
I put the wall anchors into each of the drilled holes. You may need a hammer to push them all the way in.

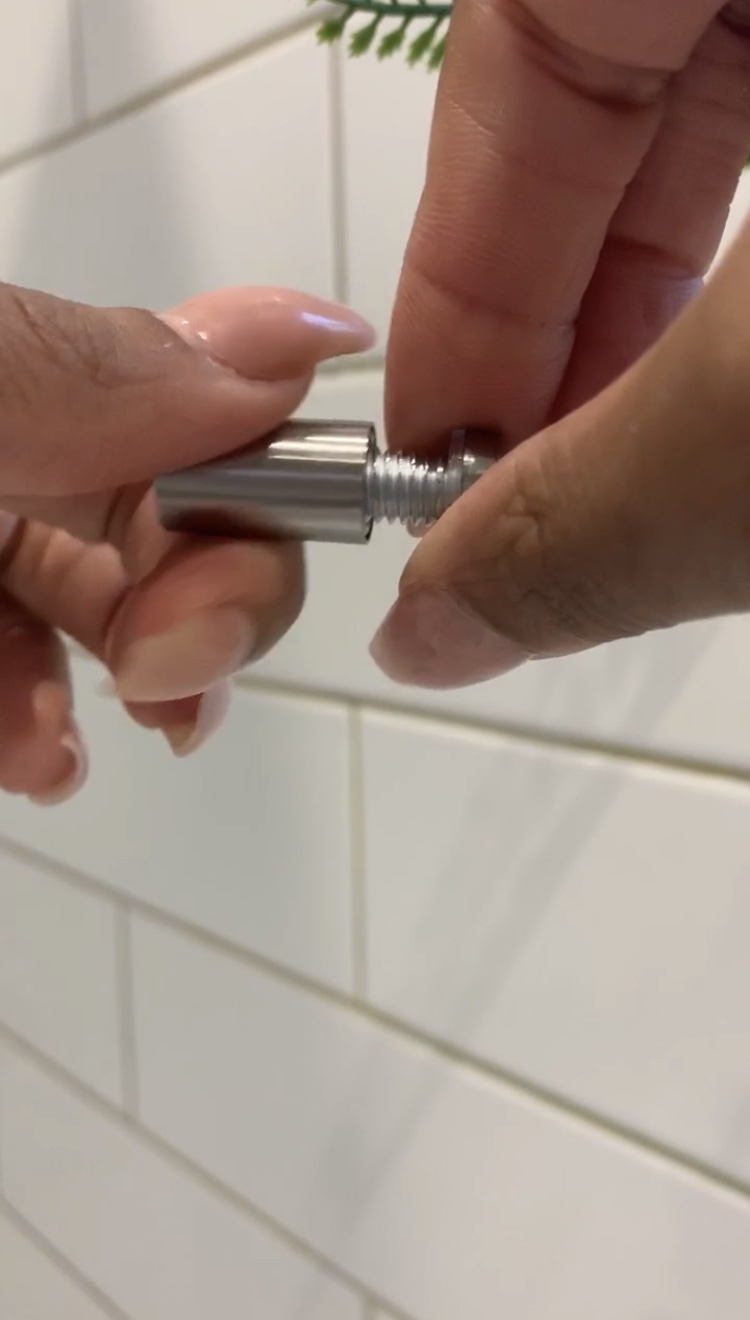
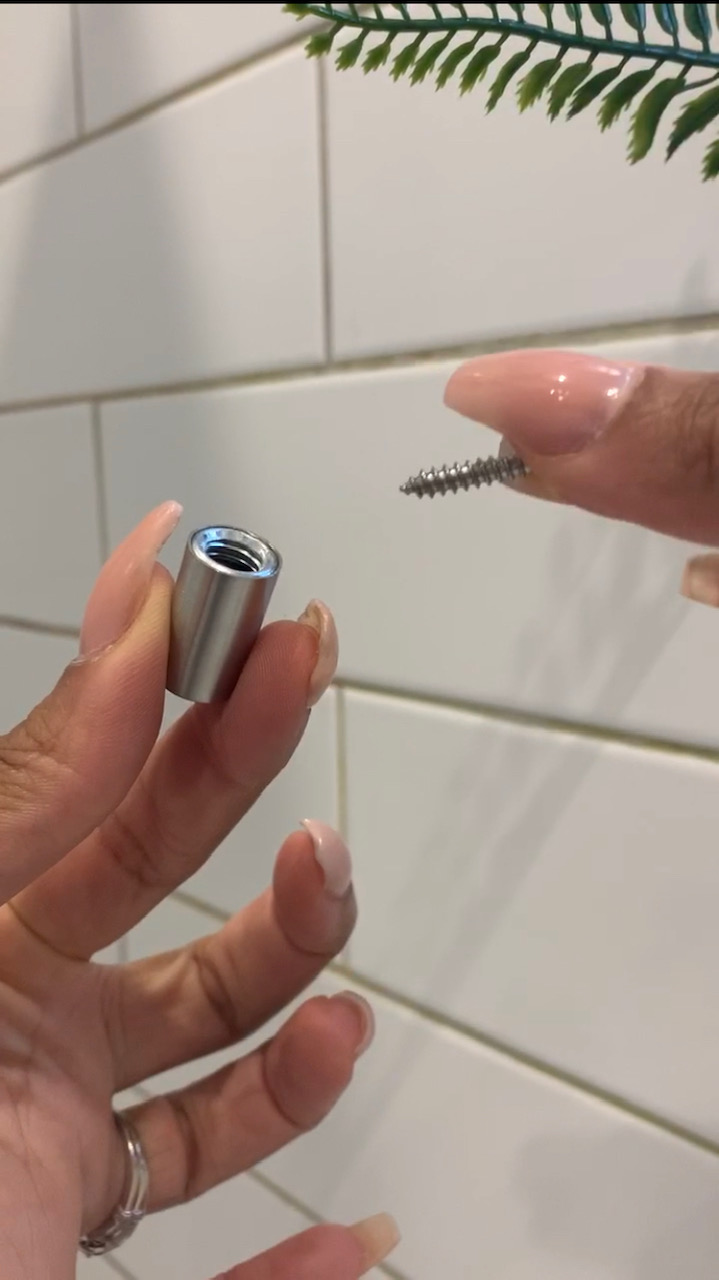
I unscrewed the Standoff Mounts and placed the screw into the base part. I then screwed these into the wall anchors in the wall.
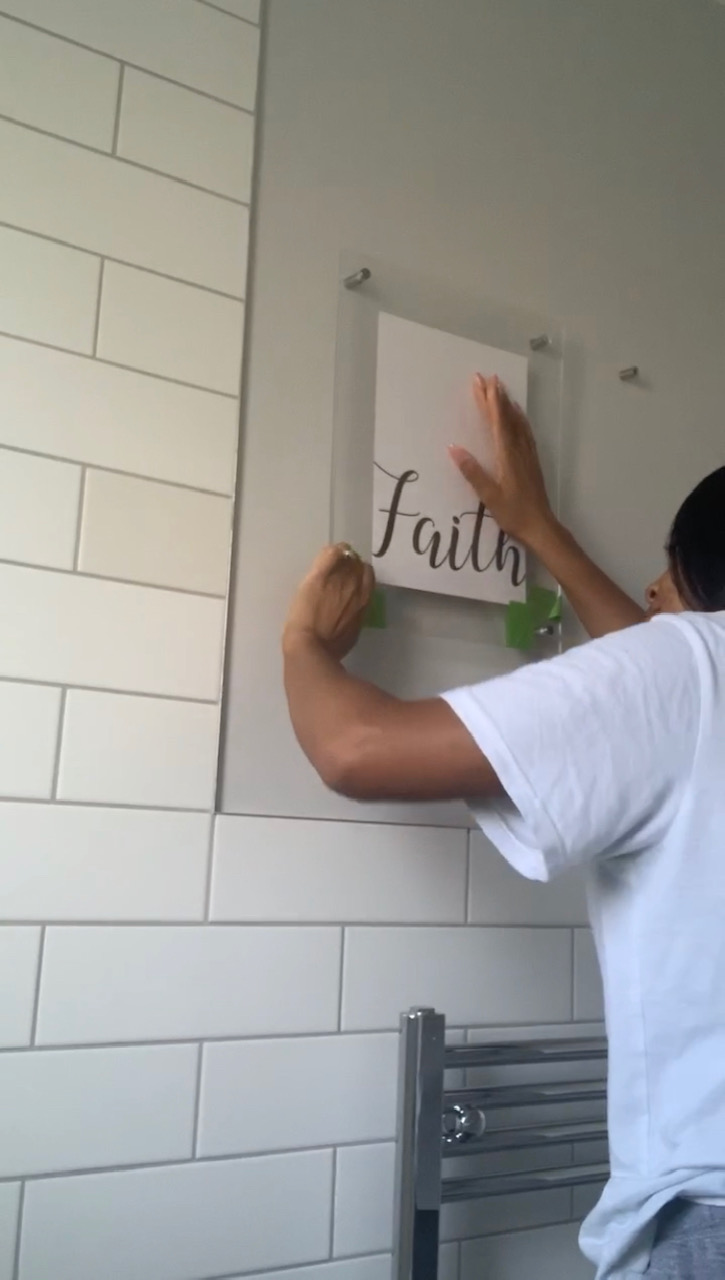
I placed the acrylic sheets on either side of the prints and made sure the print was centered.
I attached the frames to the Standoff Mounts by screwing them in place and making sure they were secure.
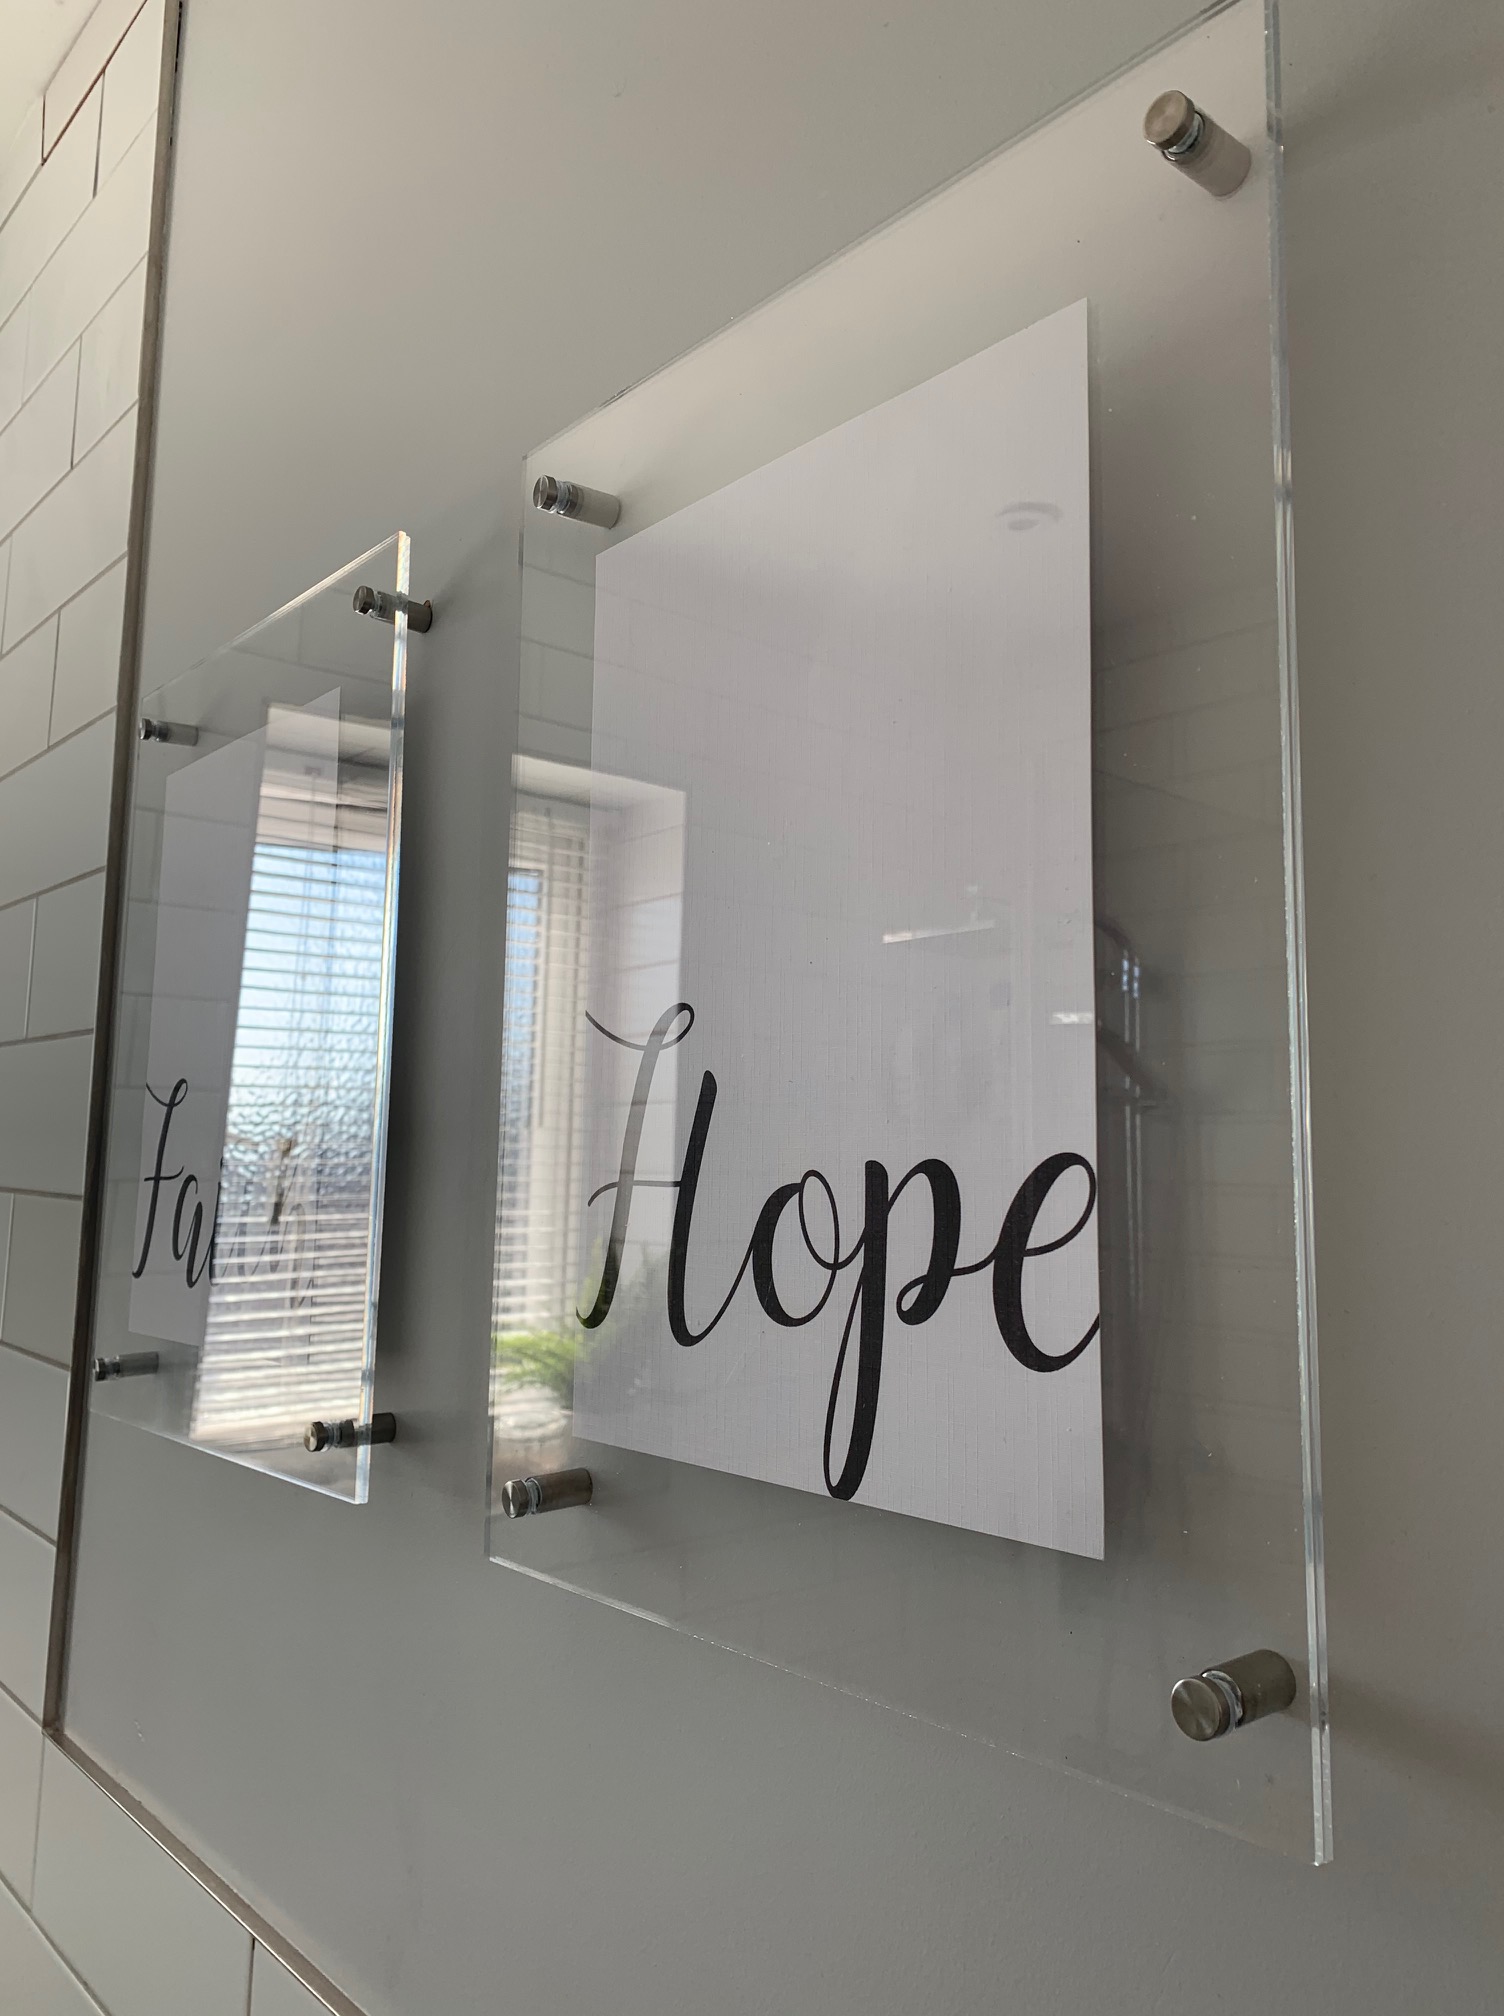
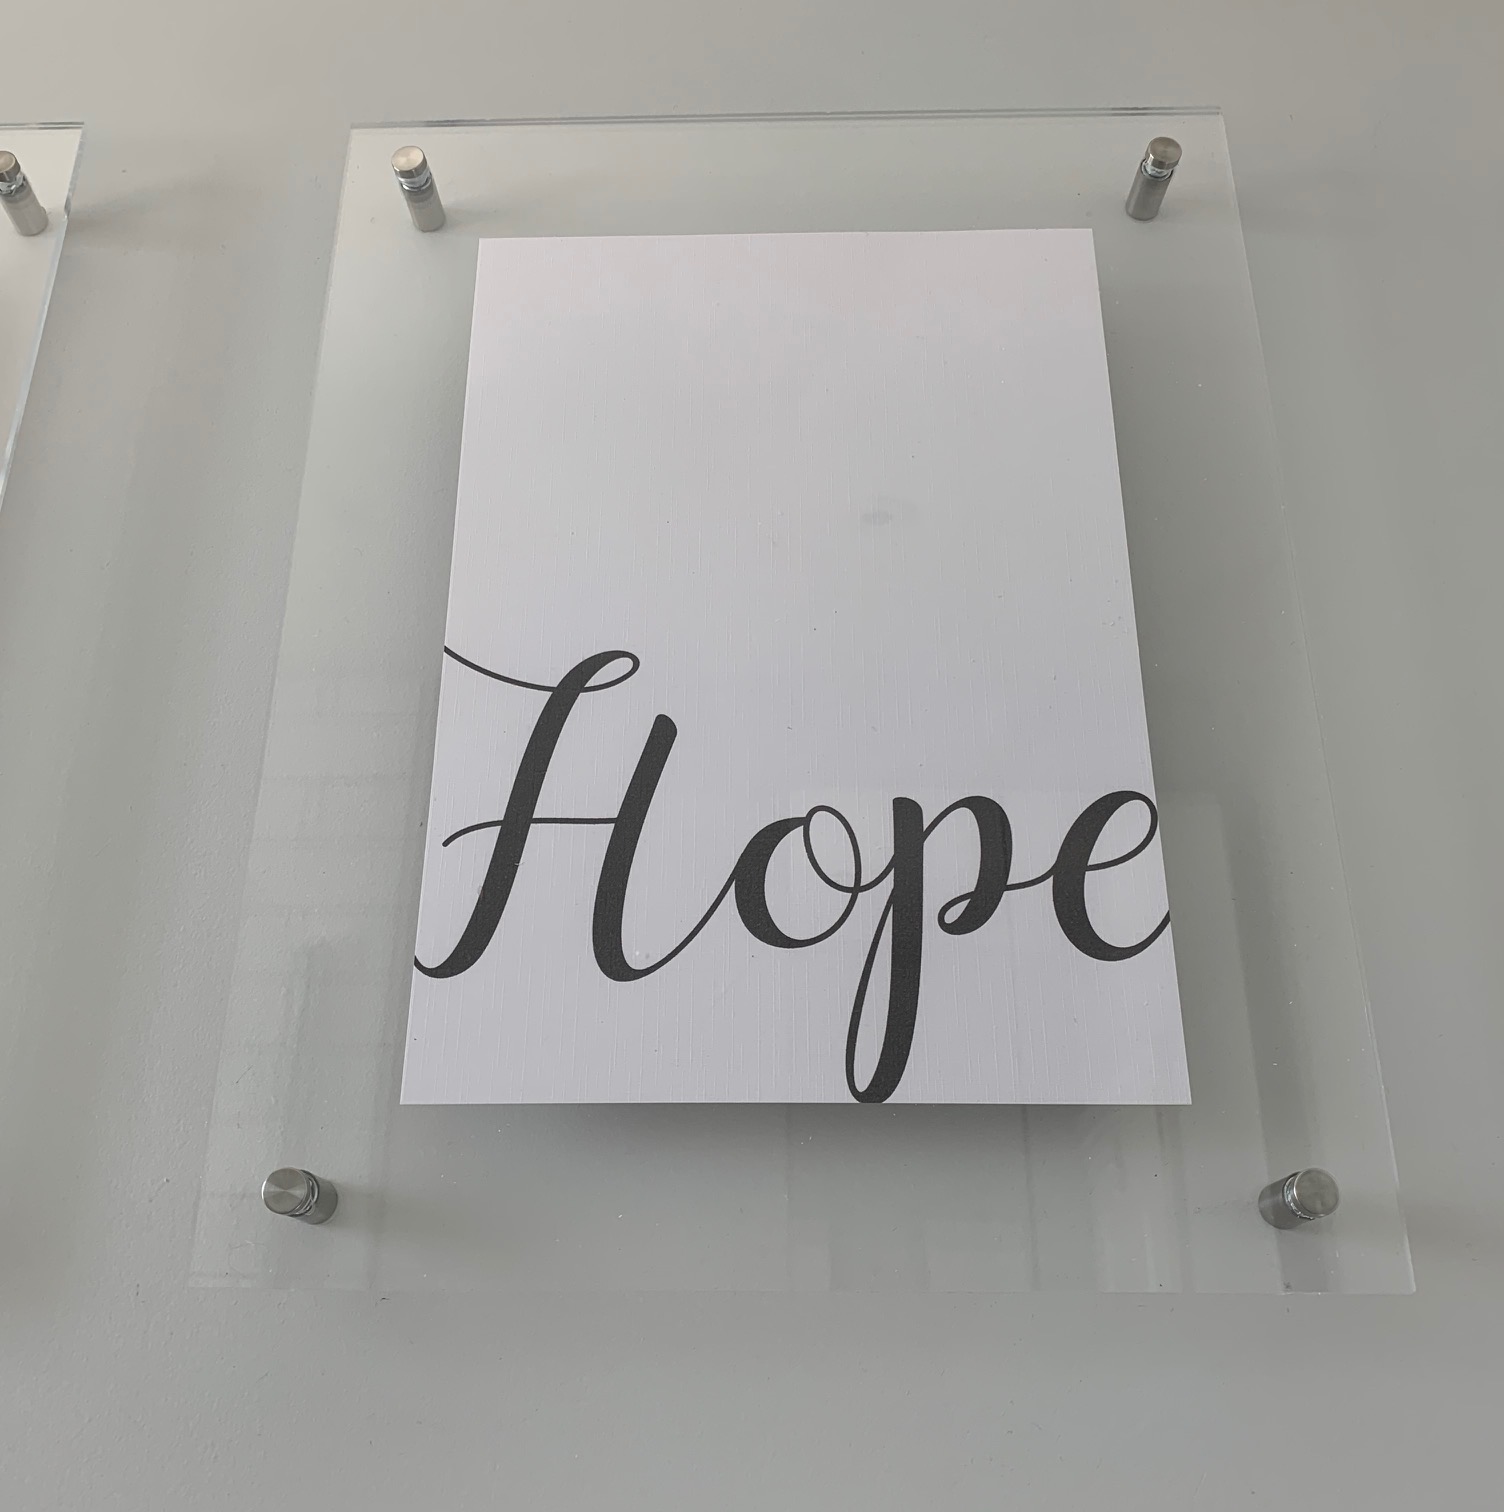
I repeated this for all three frames, and here is the finished look:
These are the products I used:
- Acrylic Sheets from Sheet Plastics @sheetplastics
- Prints from @elishomeaccesories
- Stainless Steel Standoff Mounts
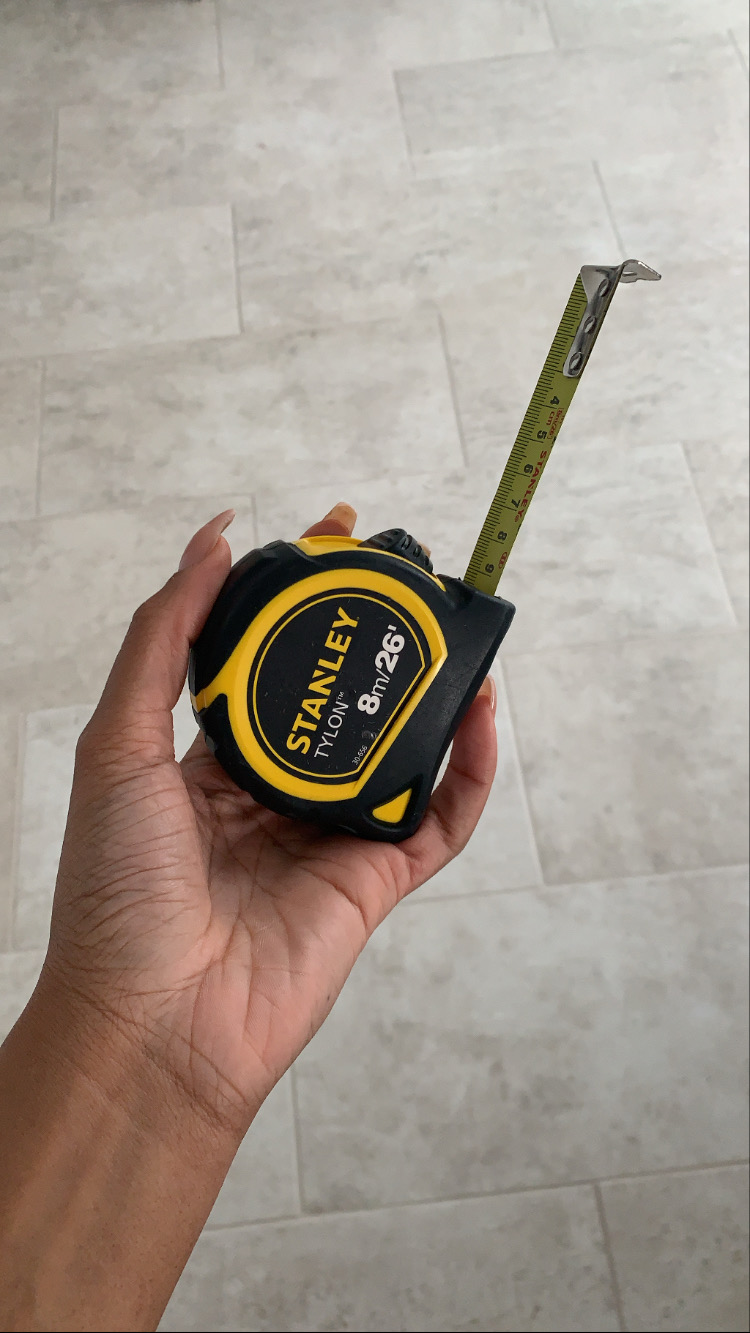
- Tape Measure
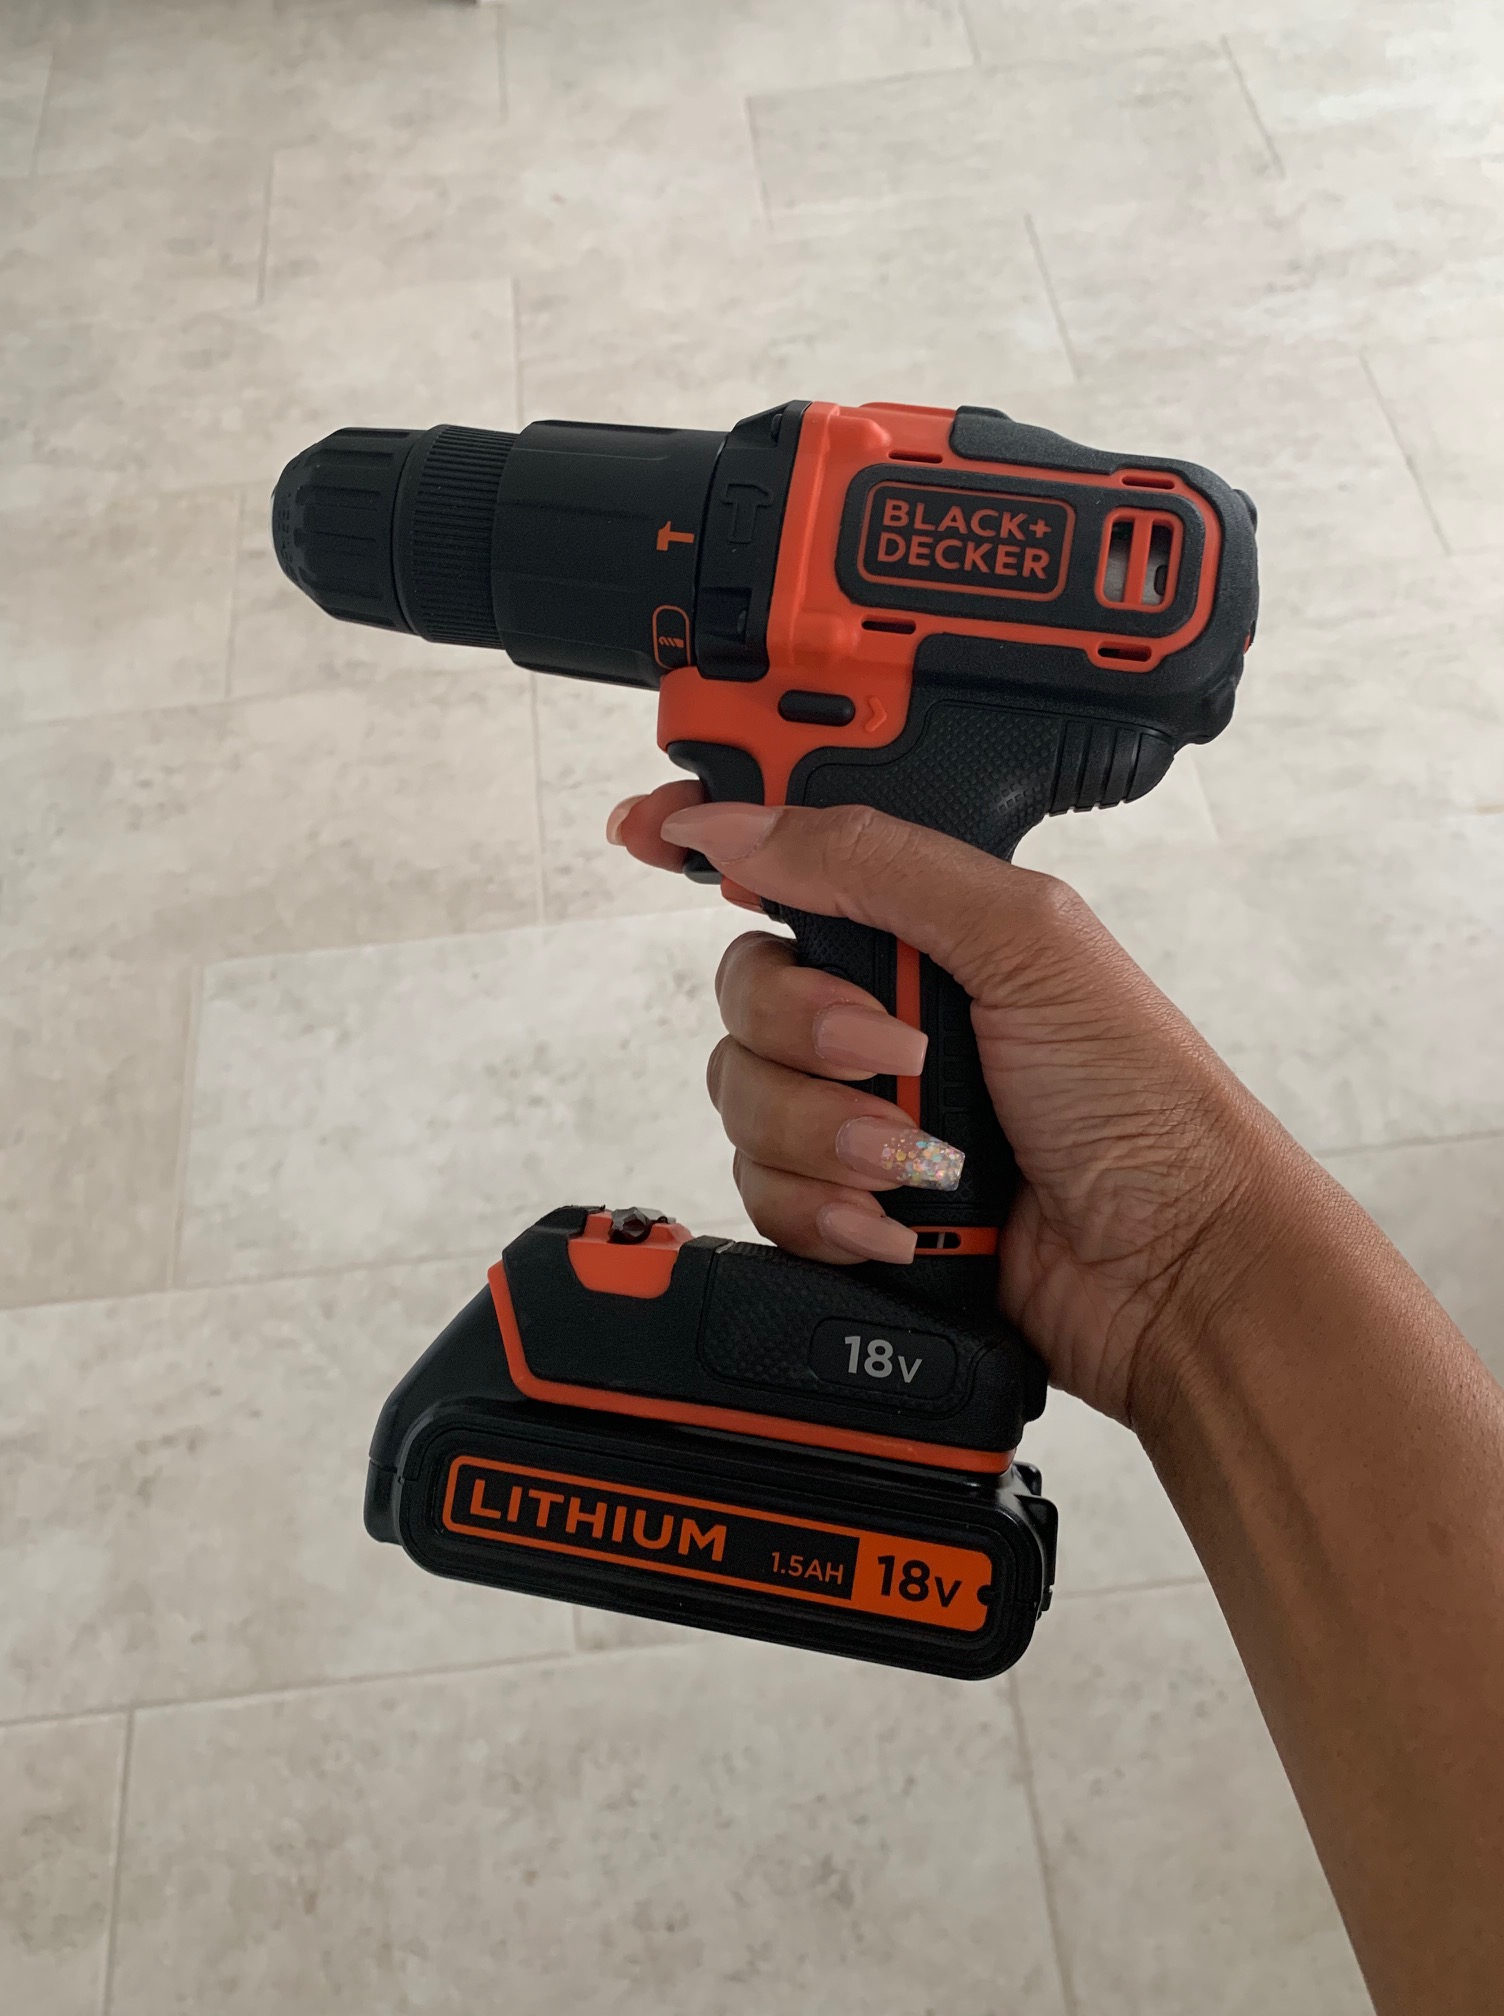
- Drill with a 6mm drill bit