link to Instagram Video (IGTV) of me making the tray is at the end of this page…
Once I saw this amazing idea on Pinterest I knew I had to give it a try for one of my 2020 monthly DIY projects.
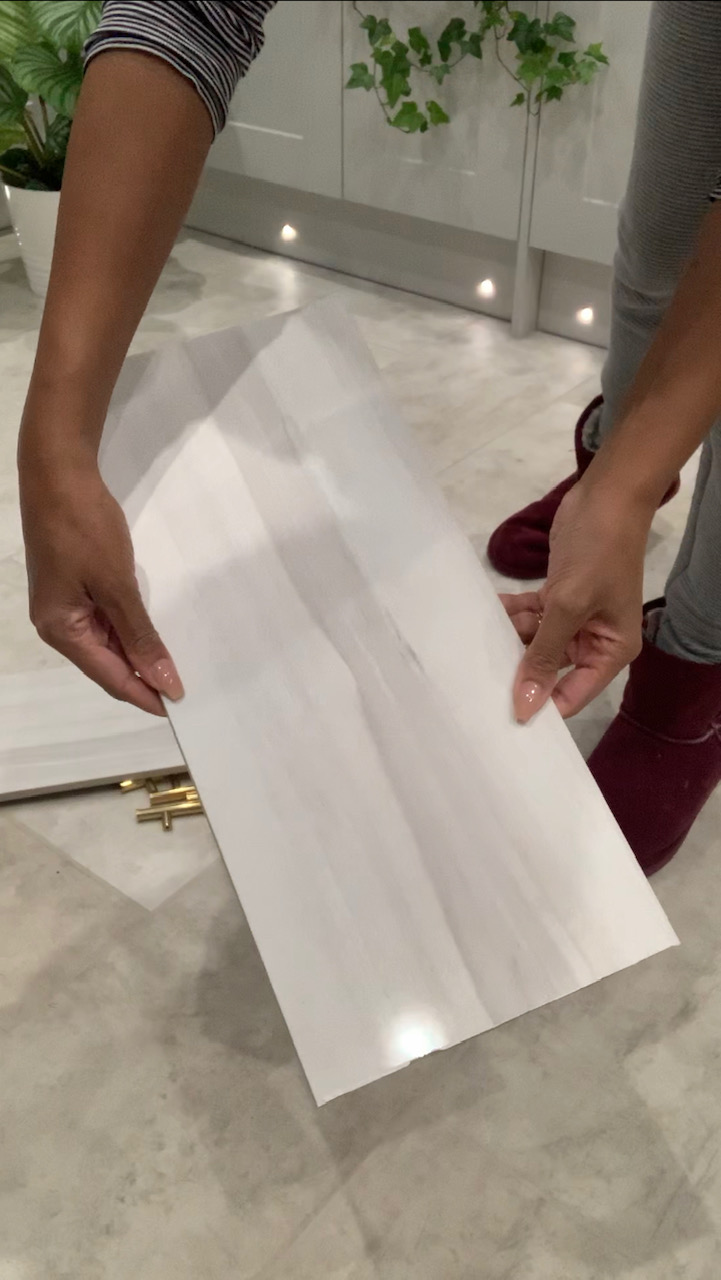
This is FEBRUARY’S DIY Project- My tile tray

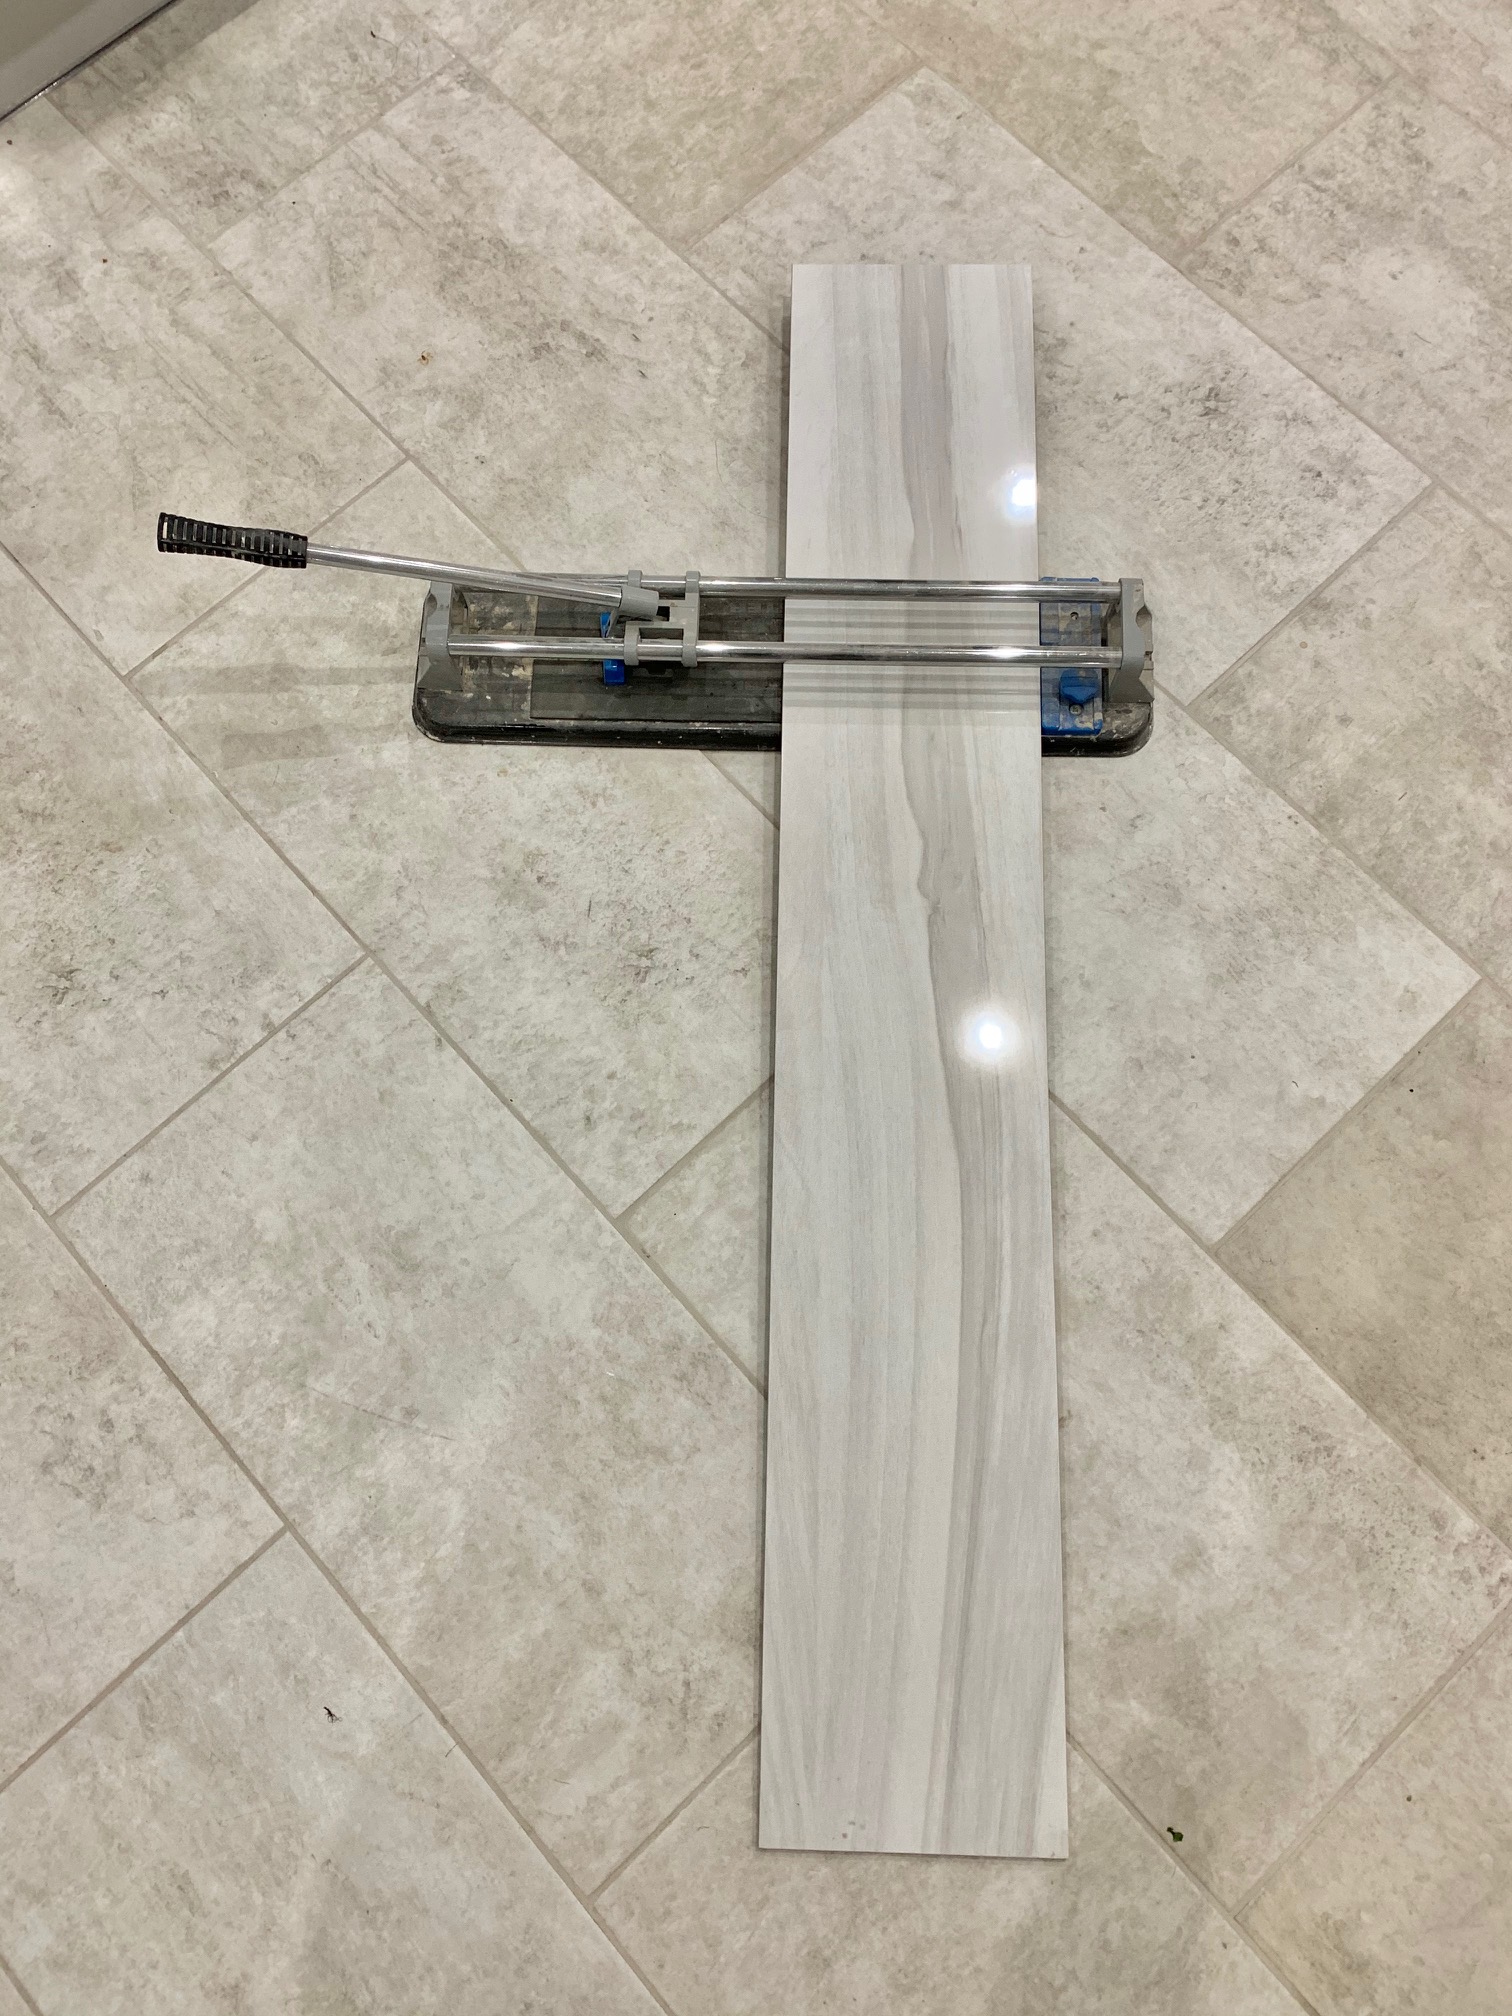
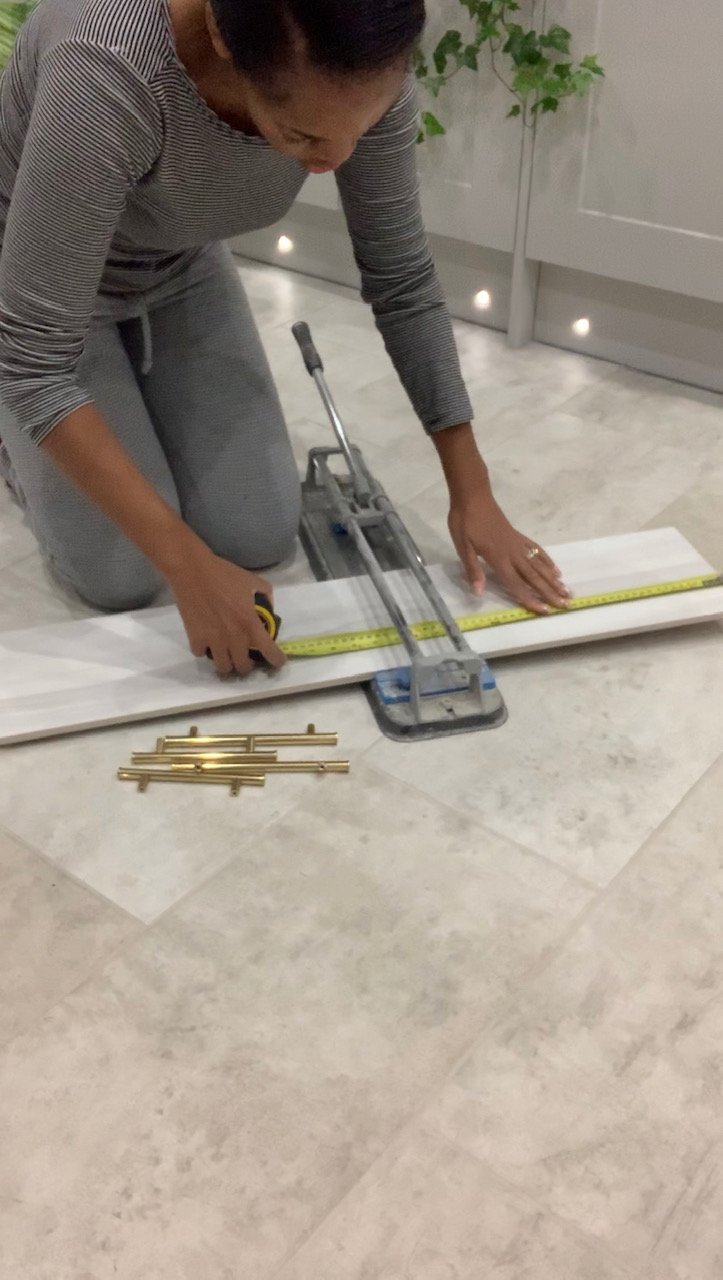
I had quite a long tile to begin with, so I used the manual tile cutter I found in our ‘dumping ground’ conservatory (I’m honestly not sure who it belongs to)
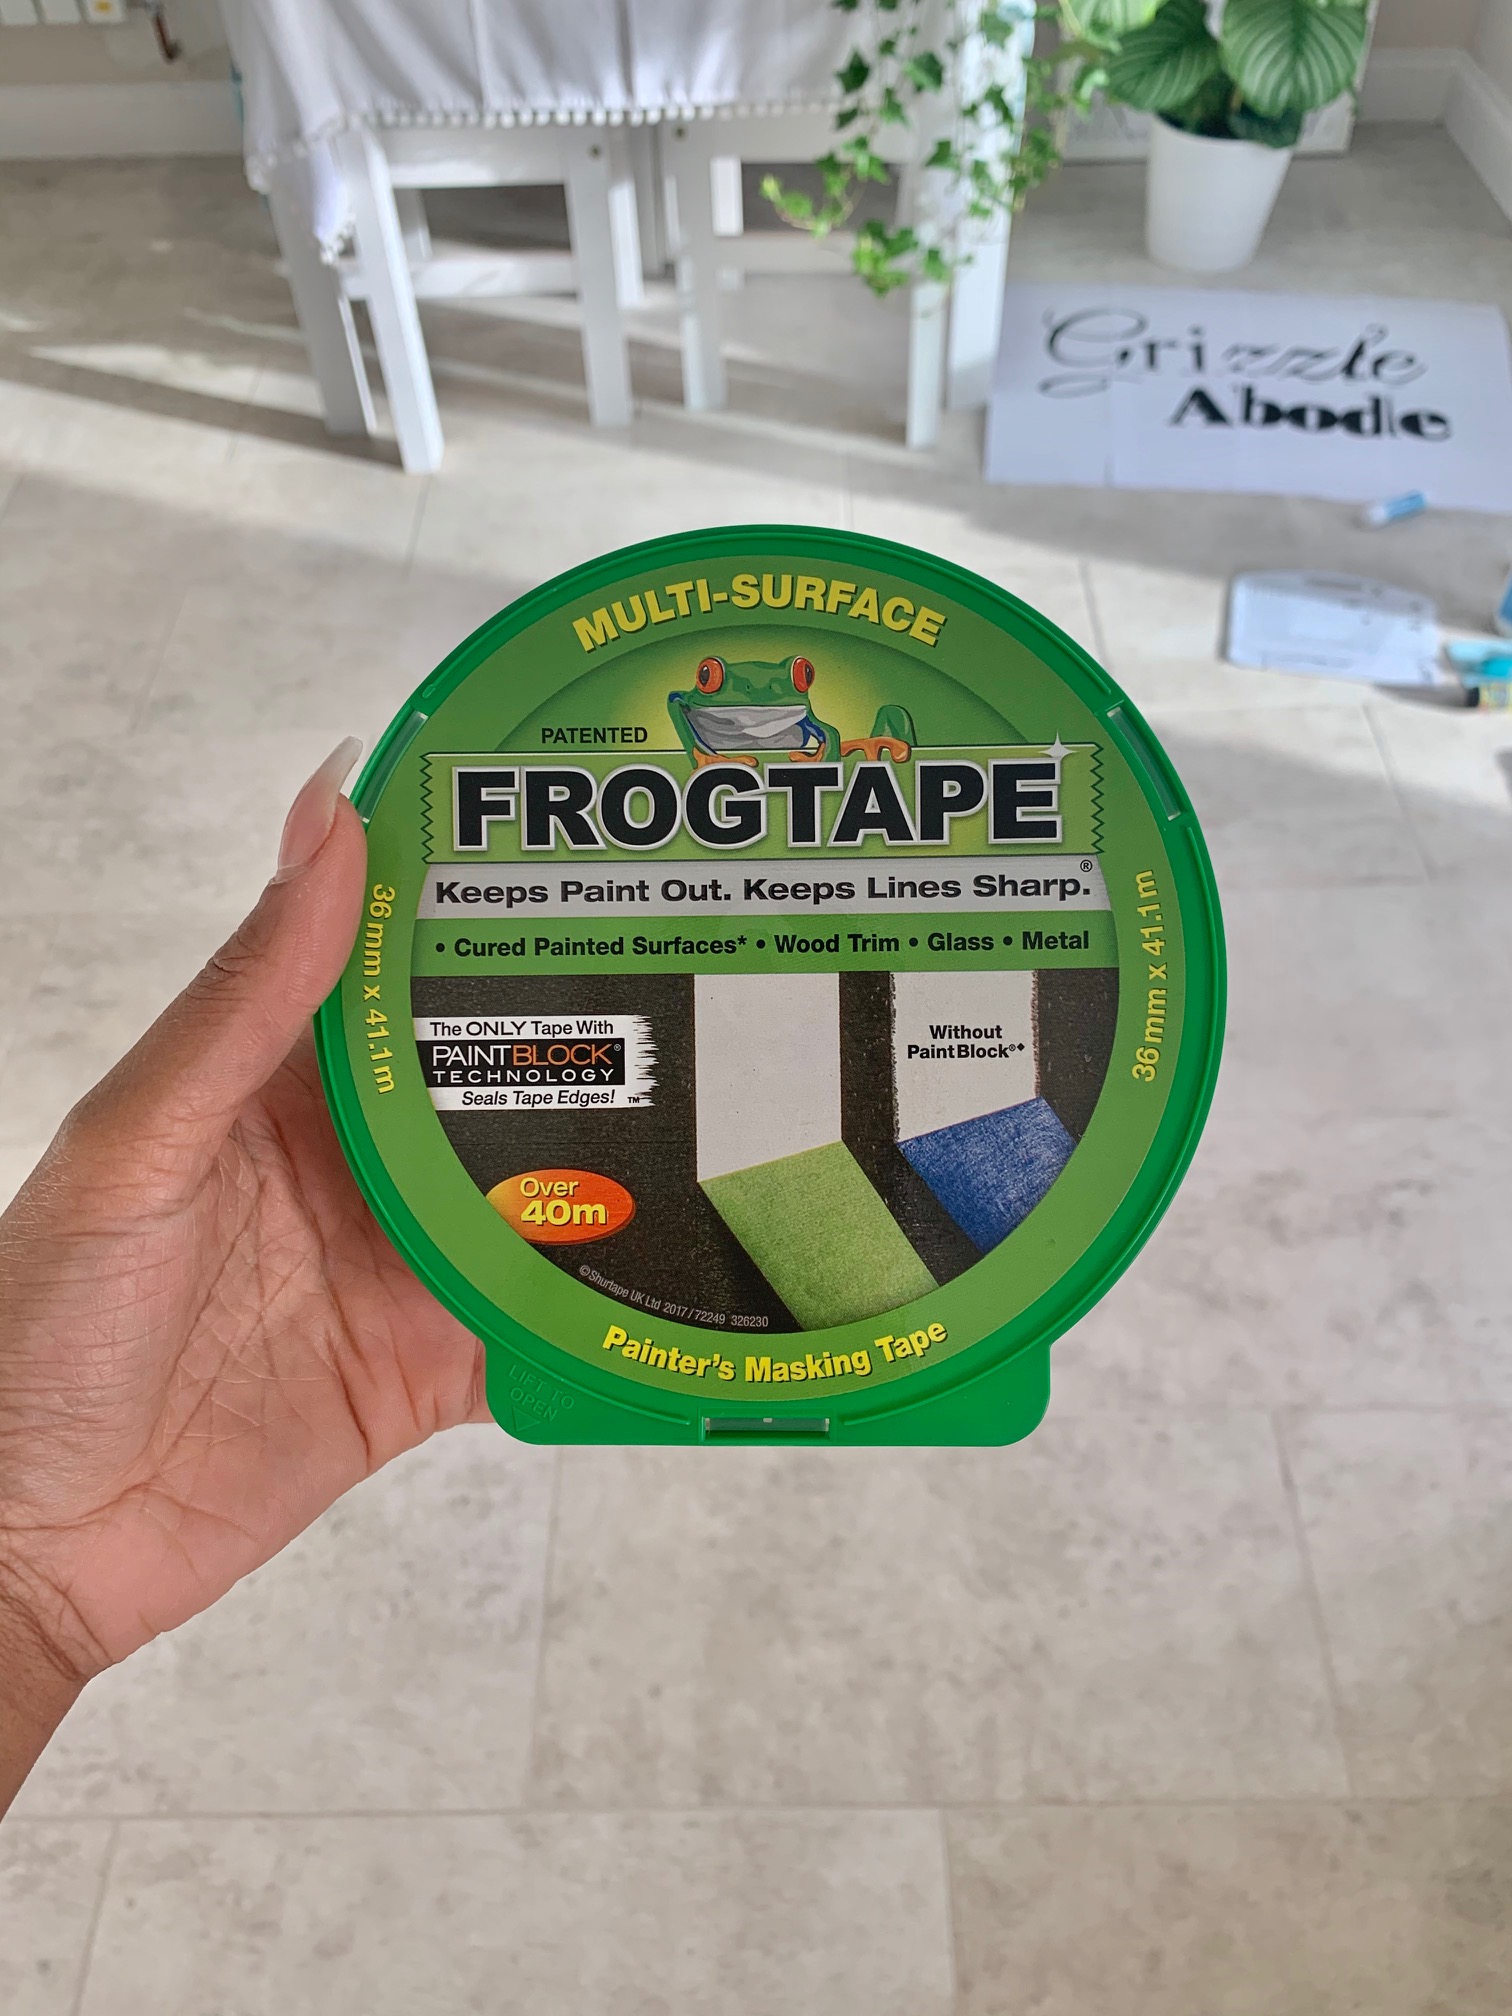
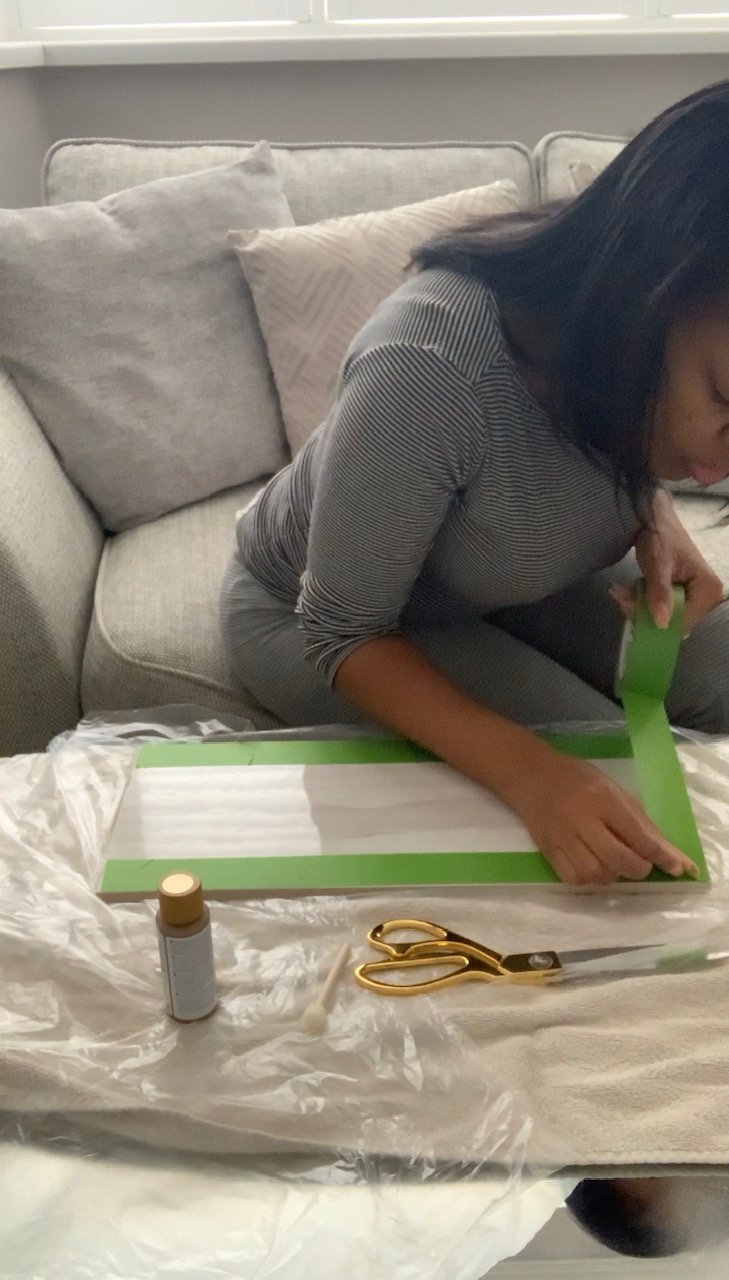
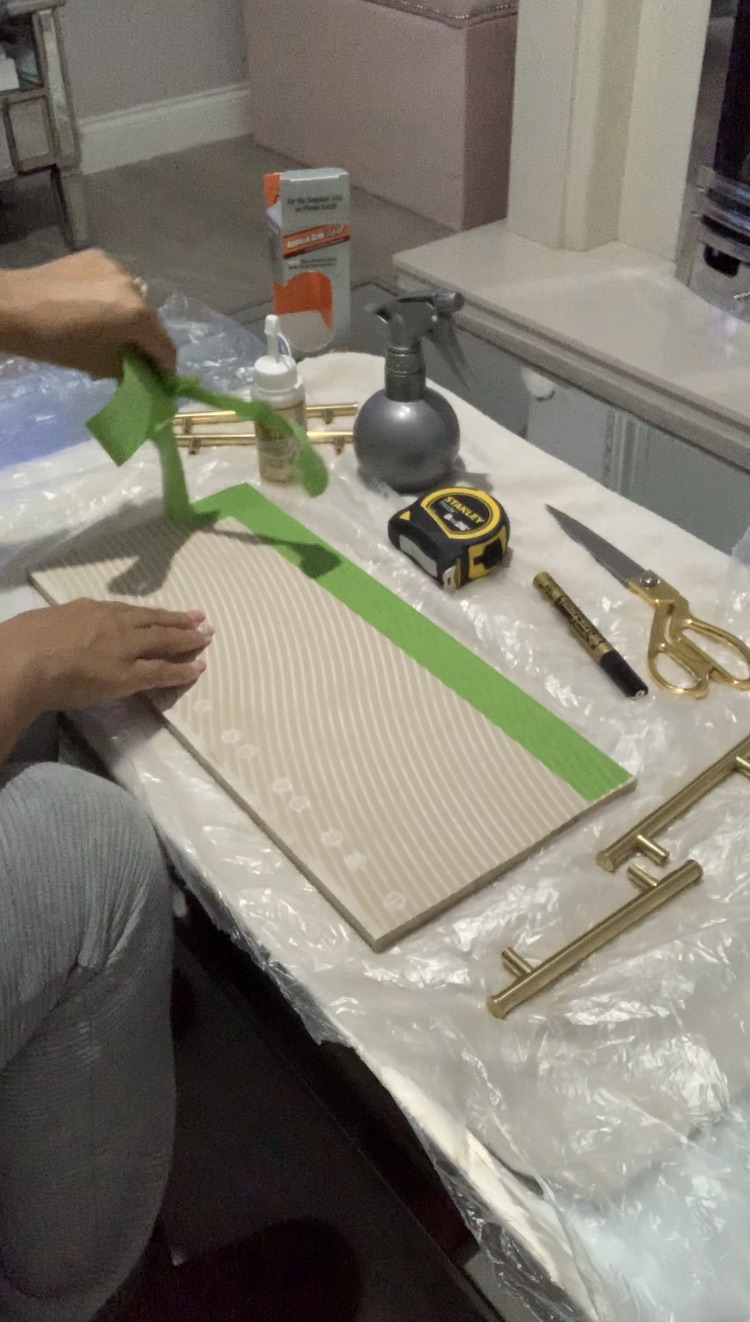
I then used the Frog Tape around the edge of both the top and bottom of the tile in order to paint the tile edge.
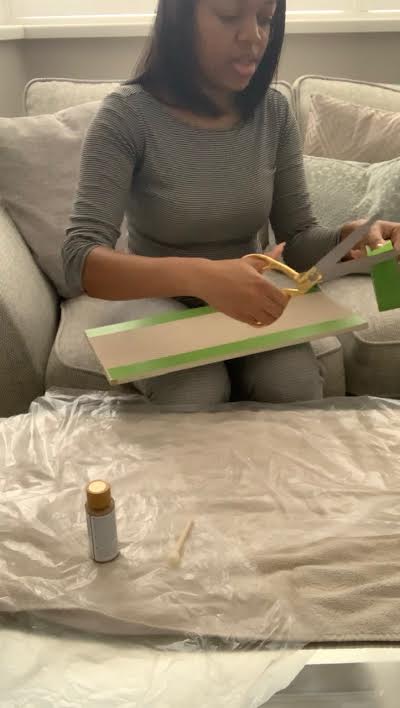
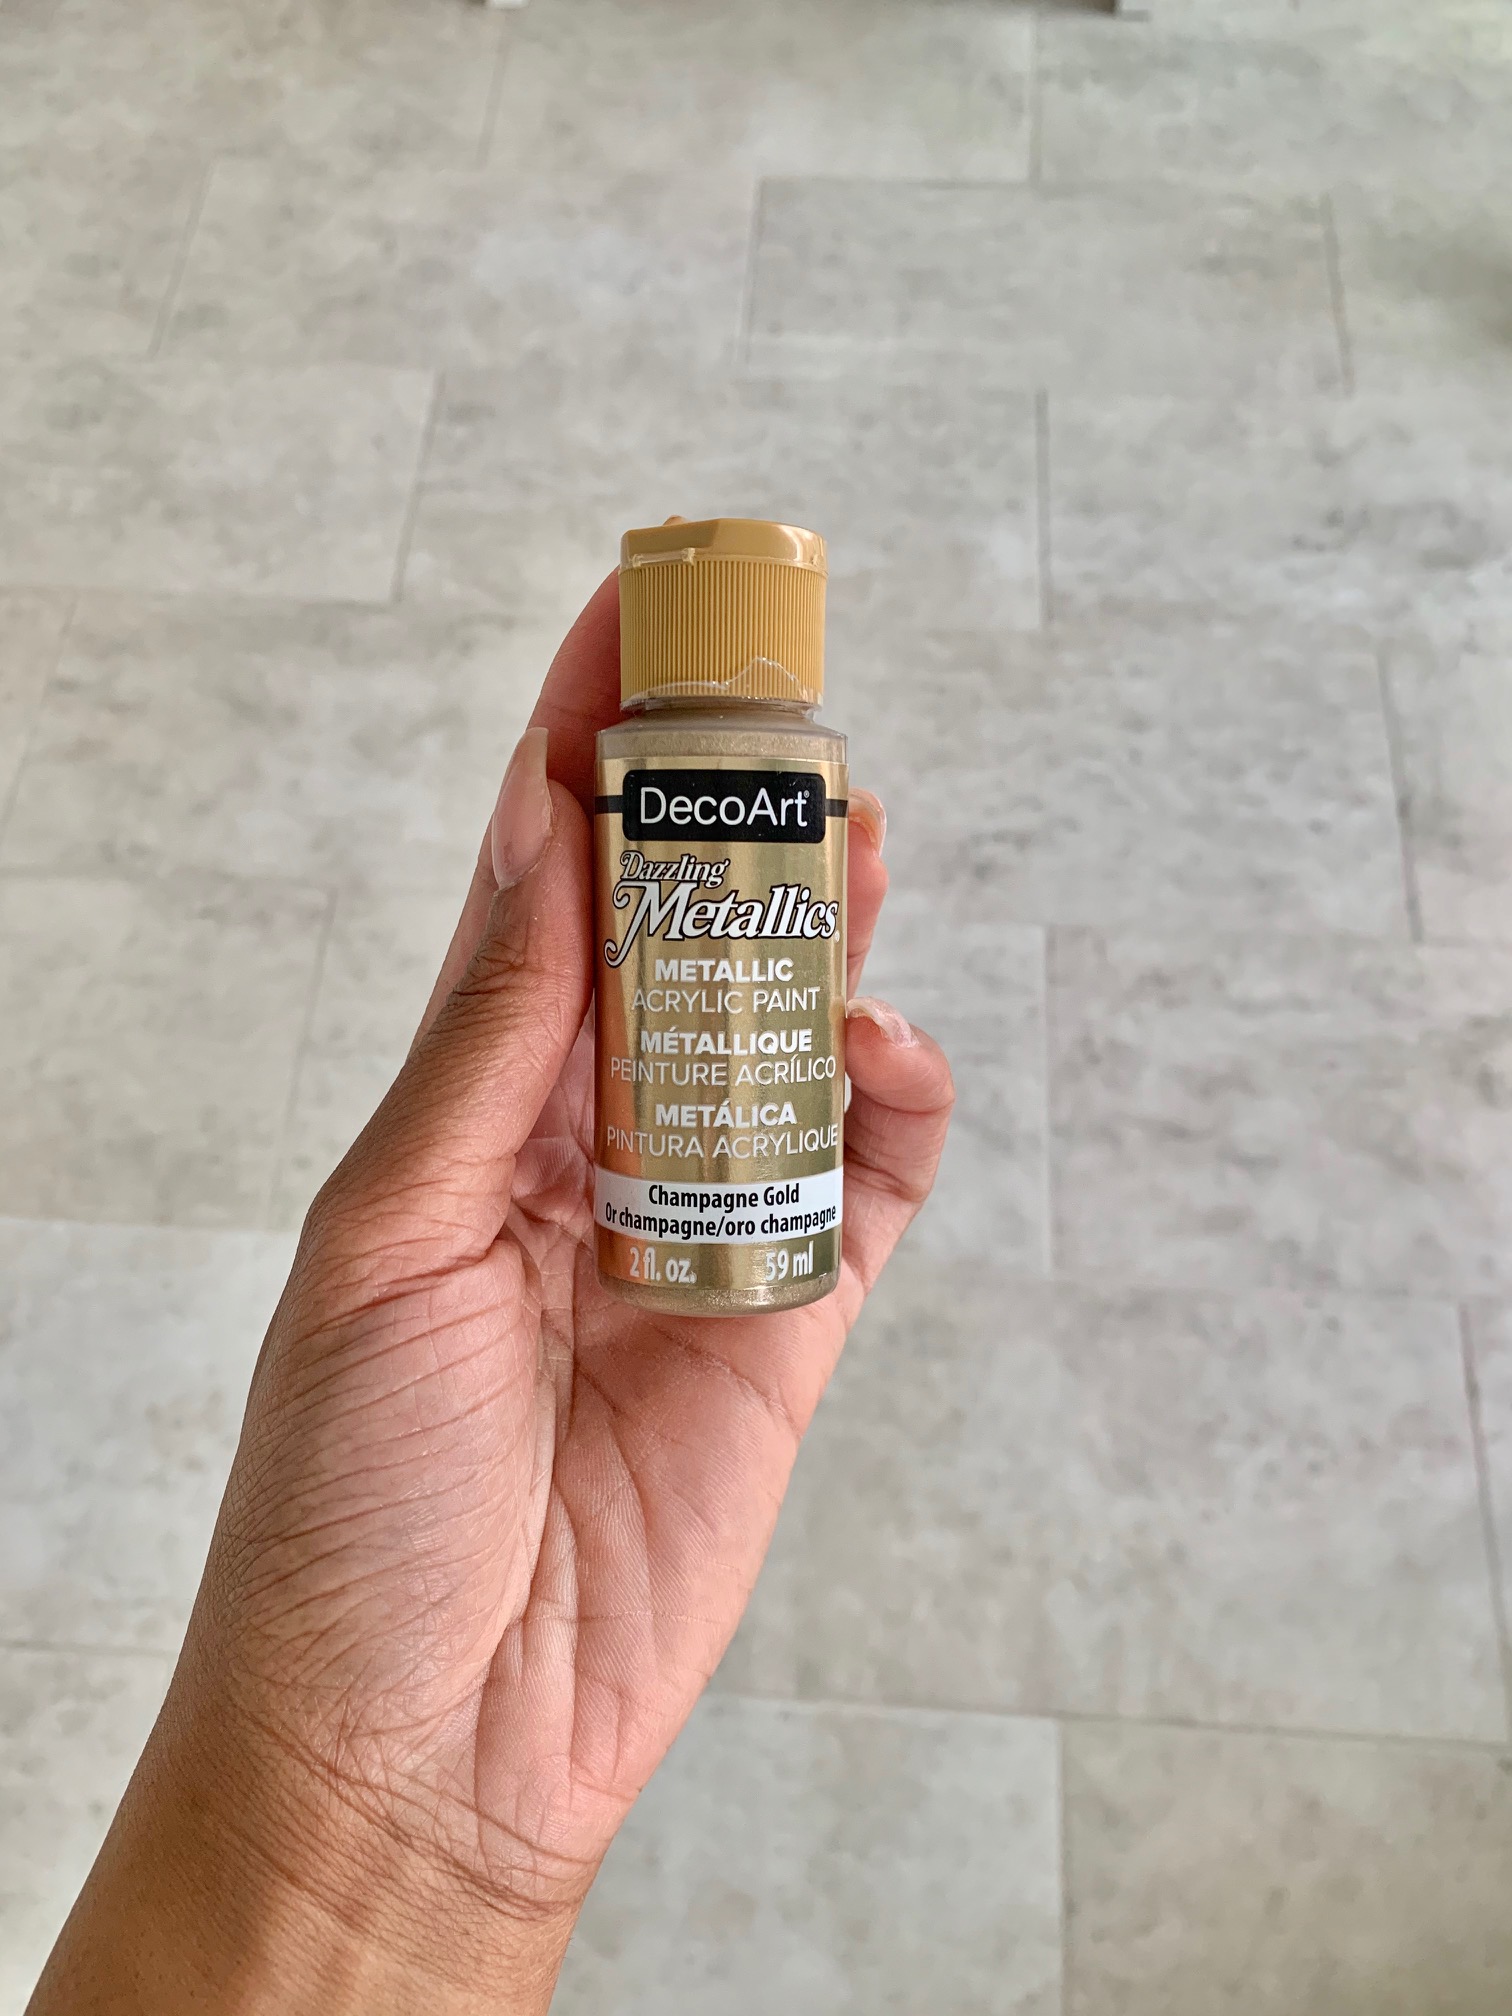
I painted the tile edge with two coats of the gold paint and left it to dry. Once dry, I removed the tape .
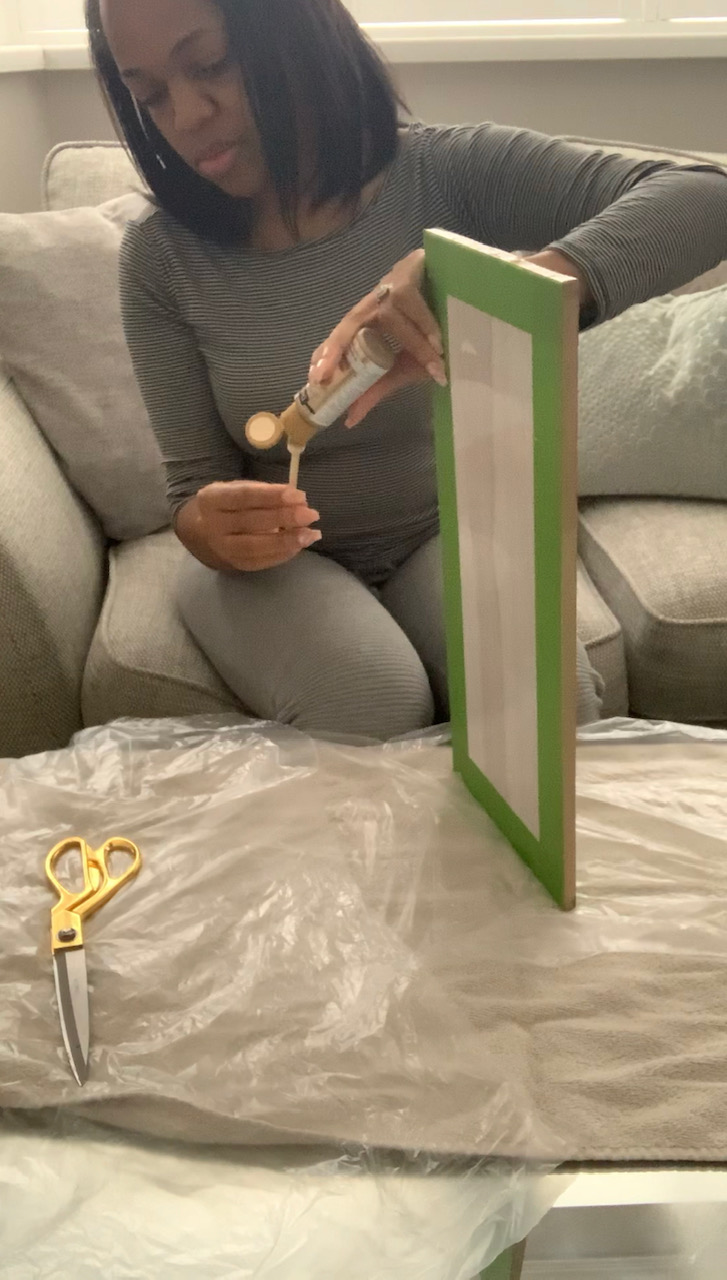
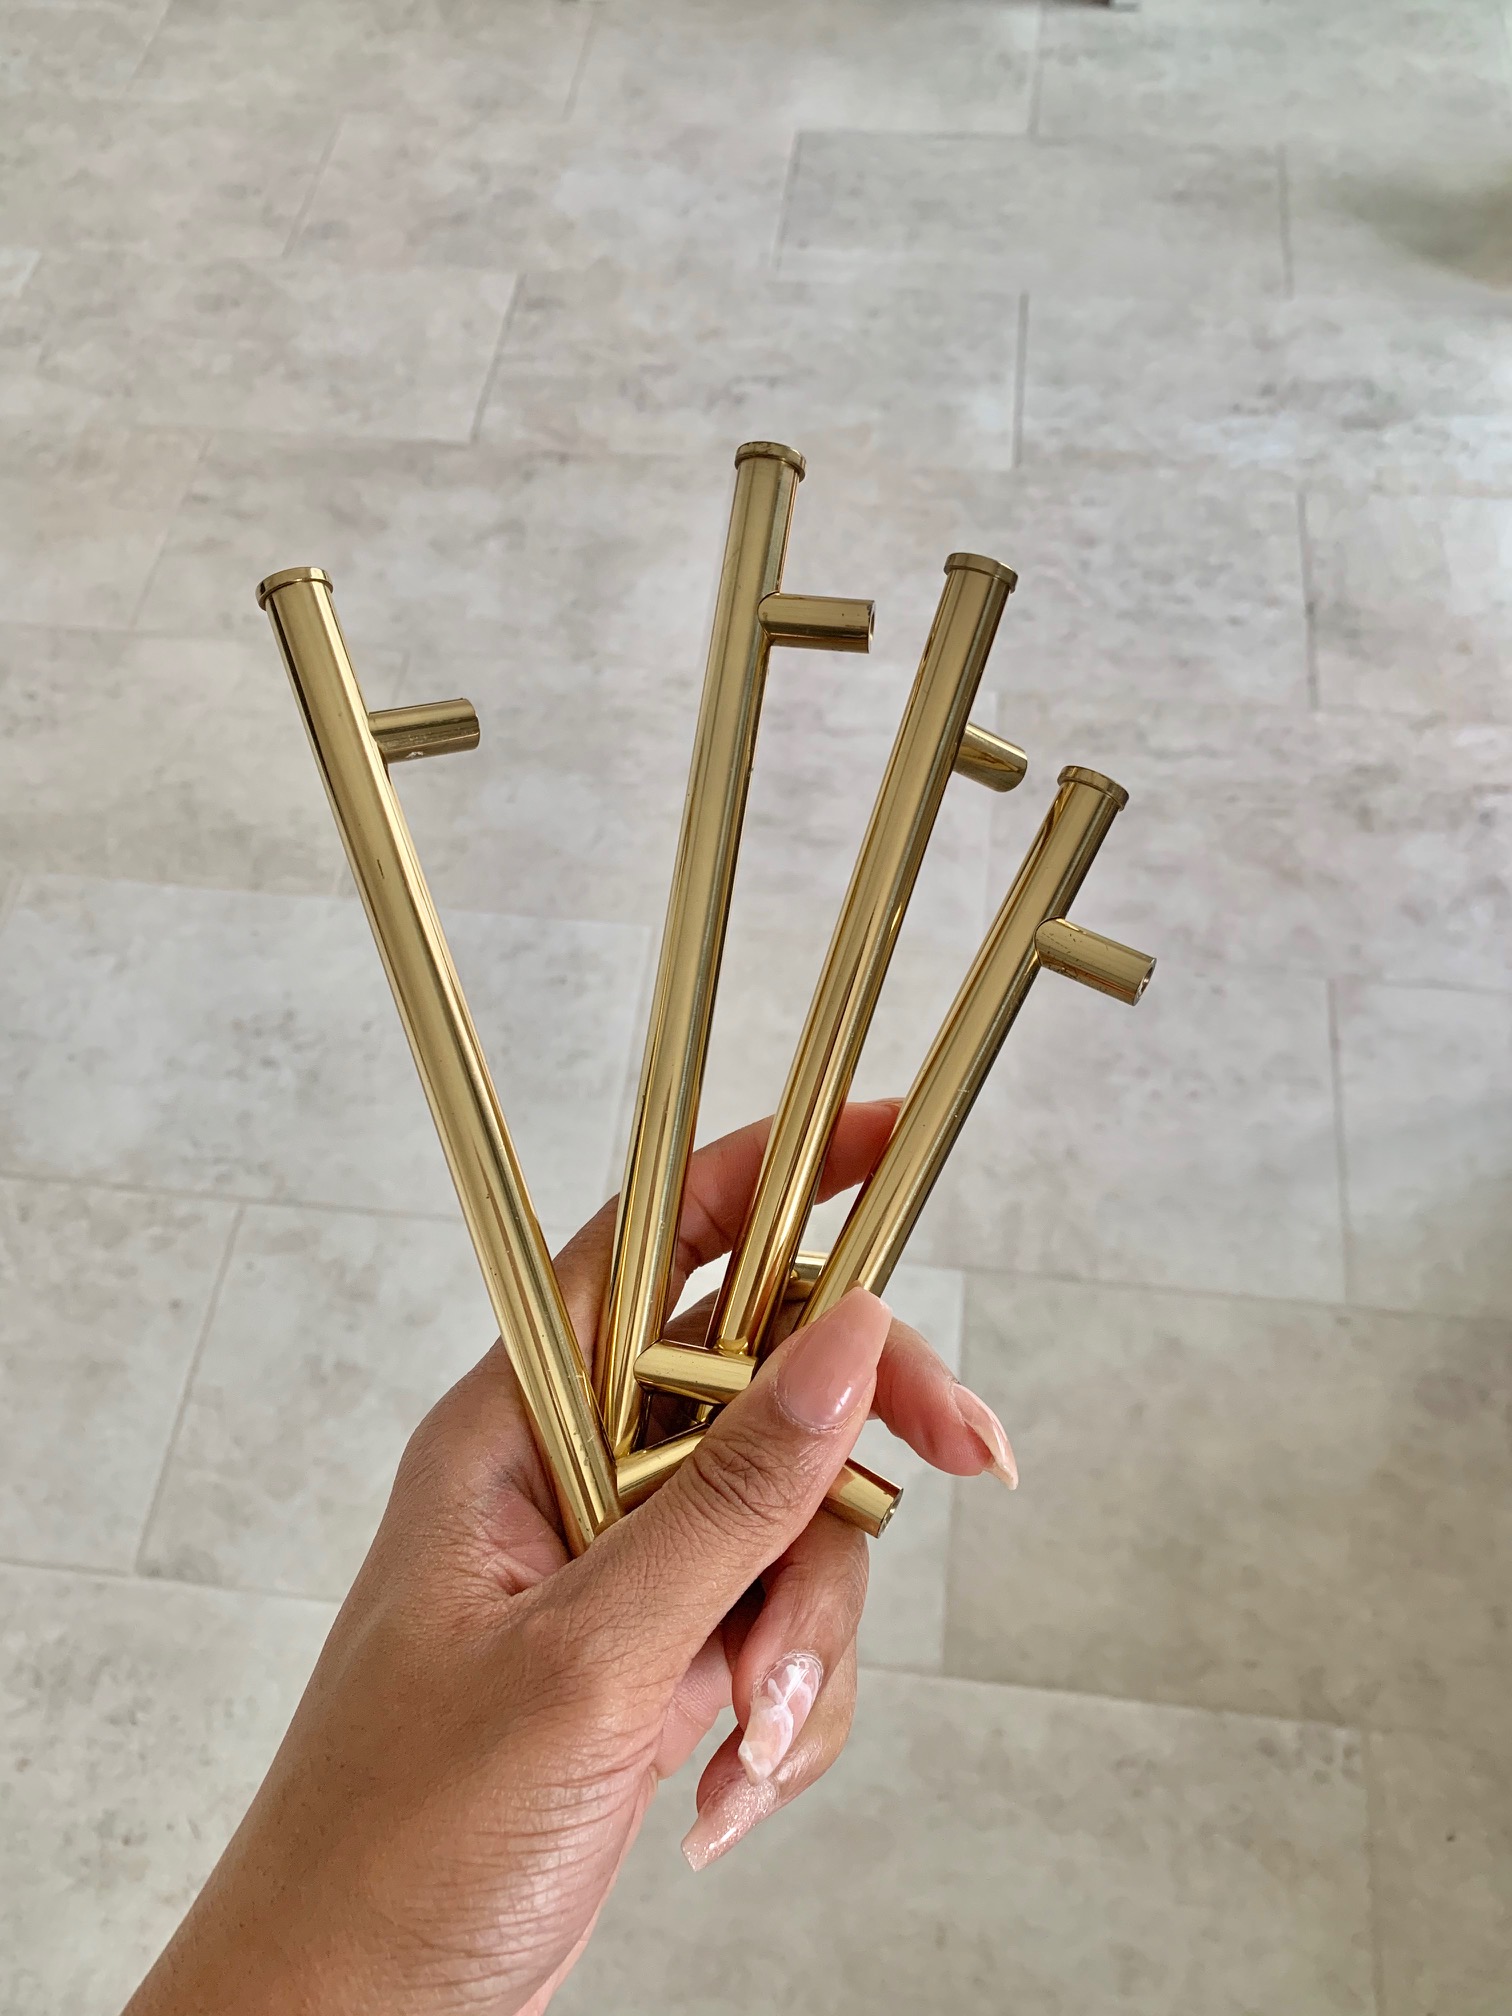
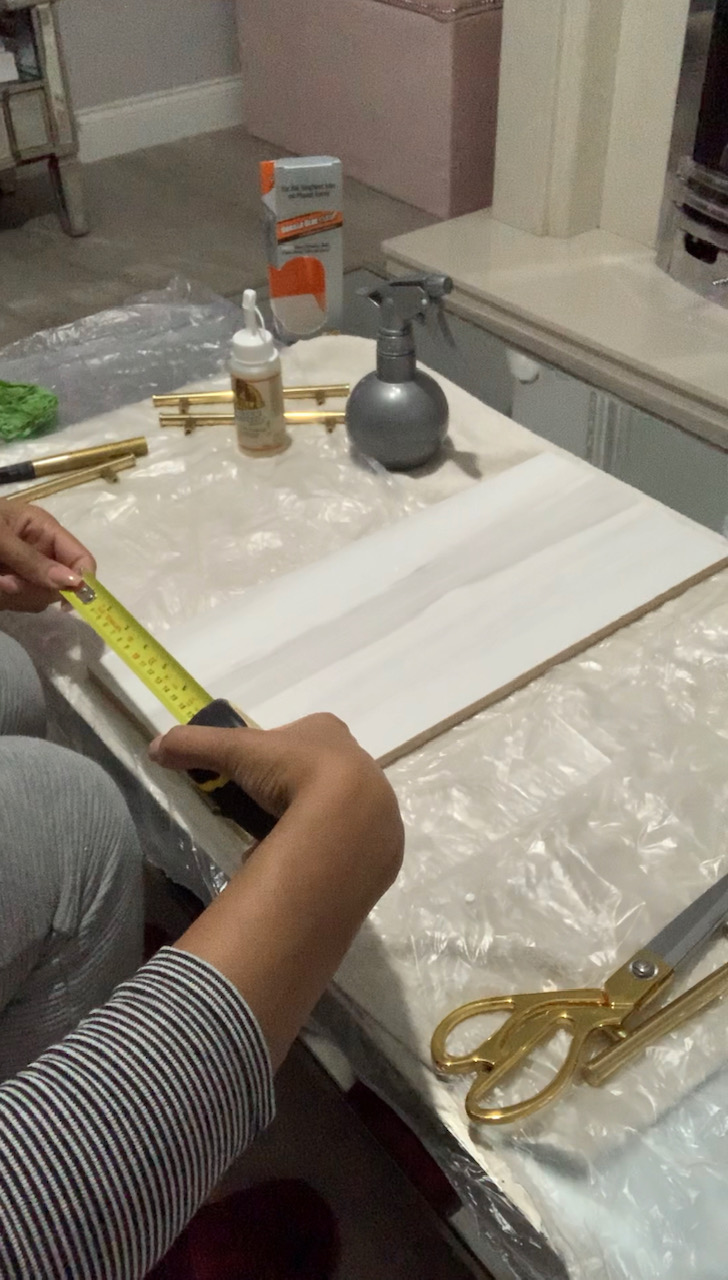
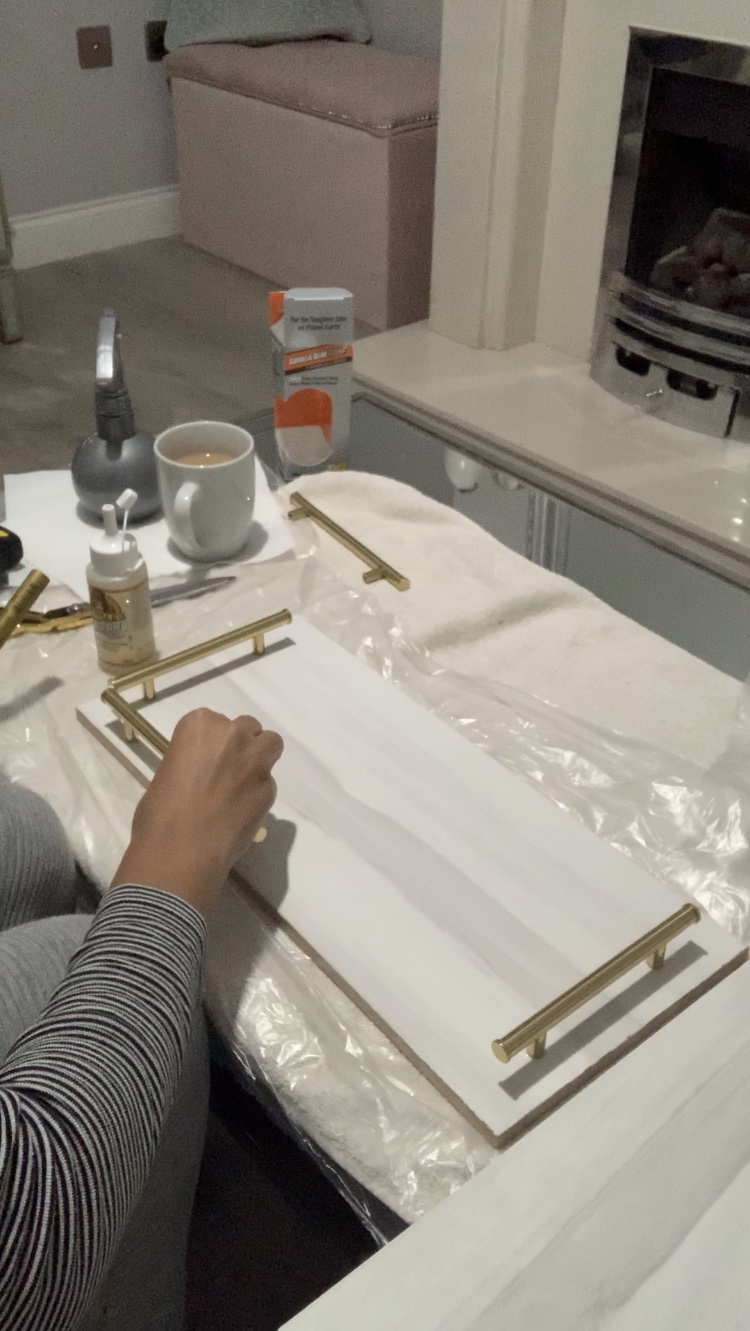
Now the sticky part! I measured out where I wanted my handles to go, and marked it with a pen. I wanted them about 1 inch in from the edge and as symmetrical as possible.
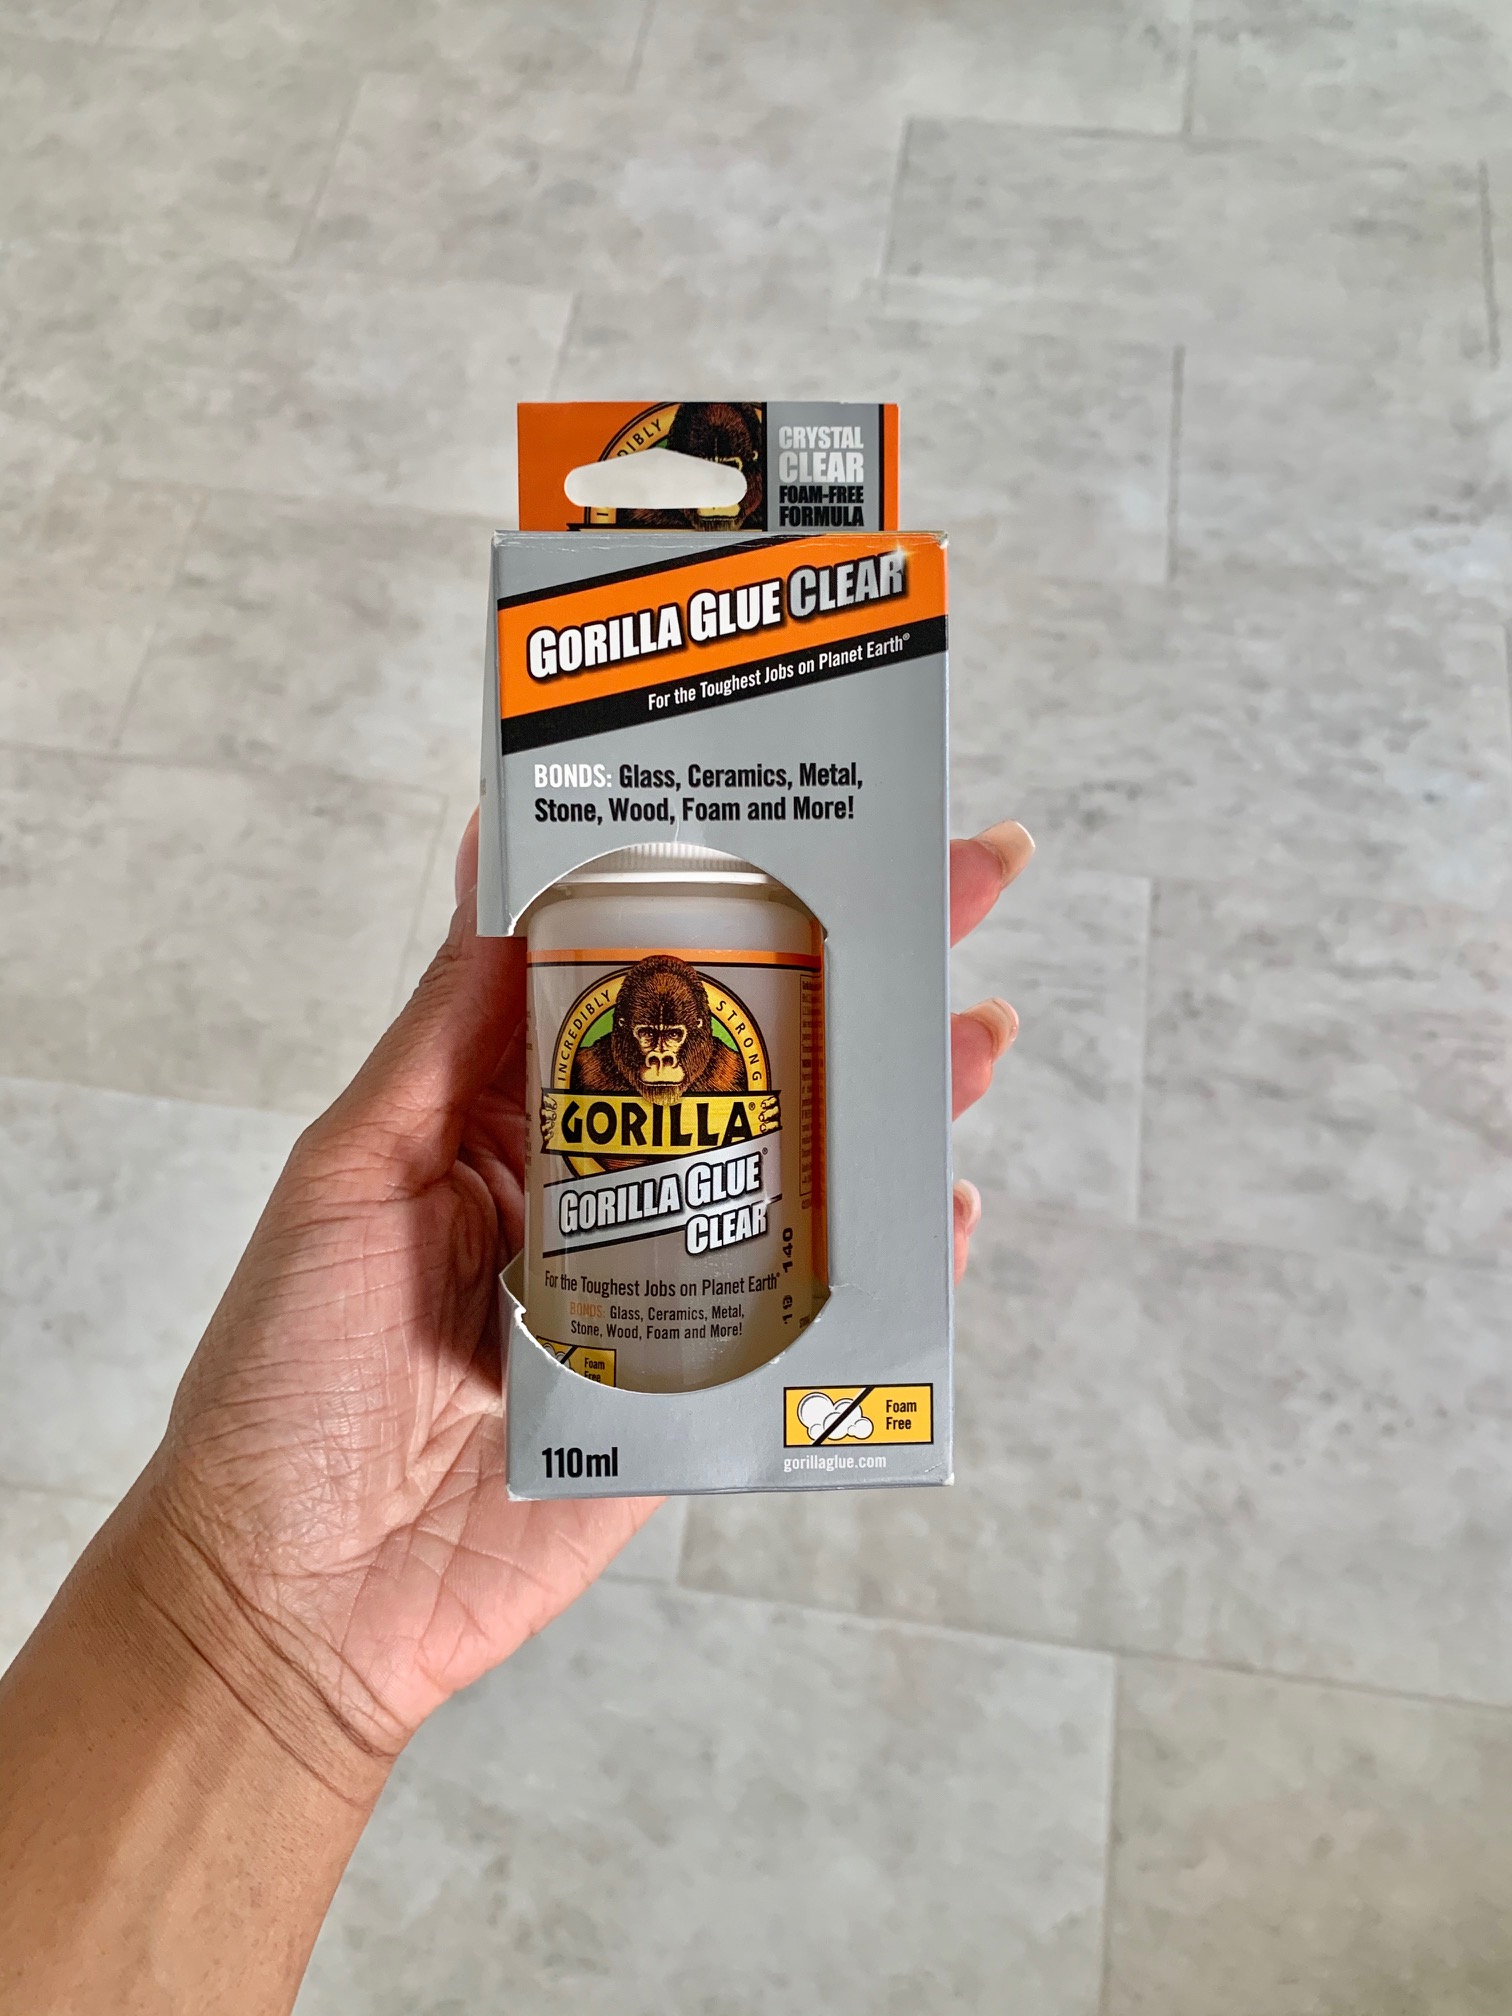
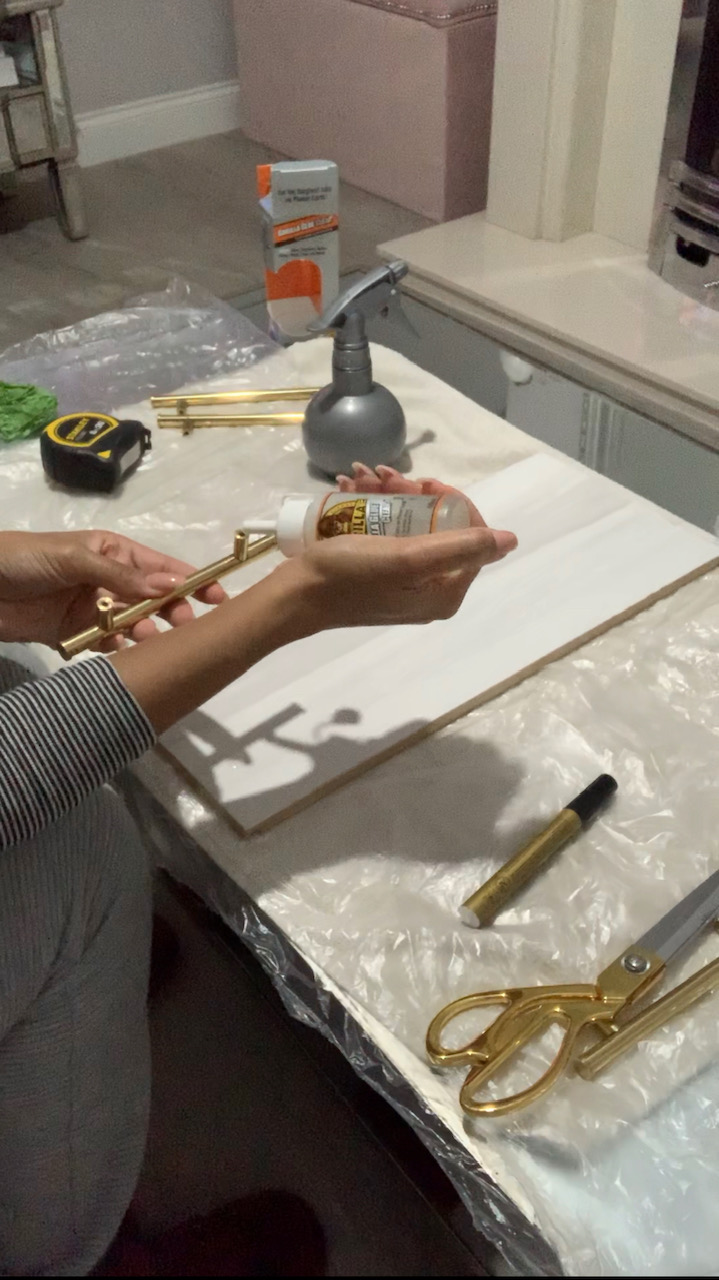
I used the VERY STICKY Gorilla glue on both the tile and the handle and pressed it into place.
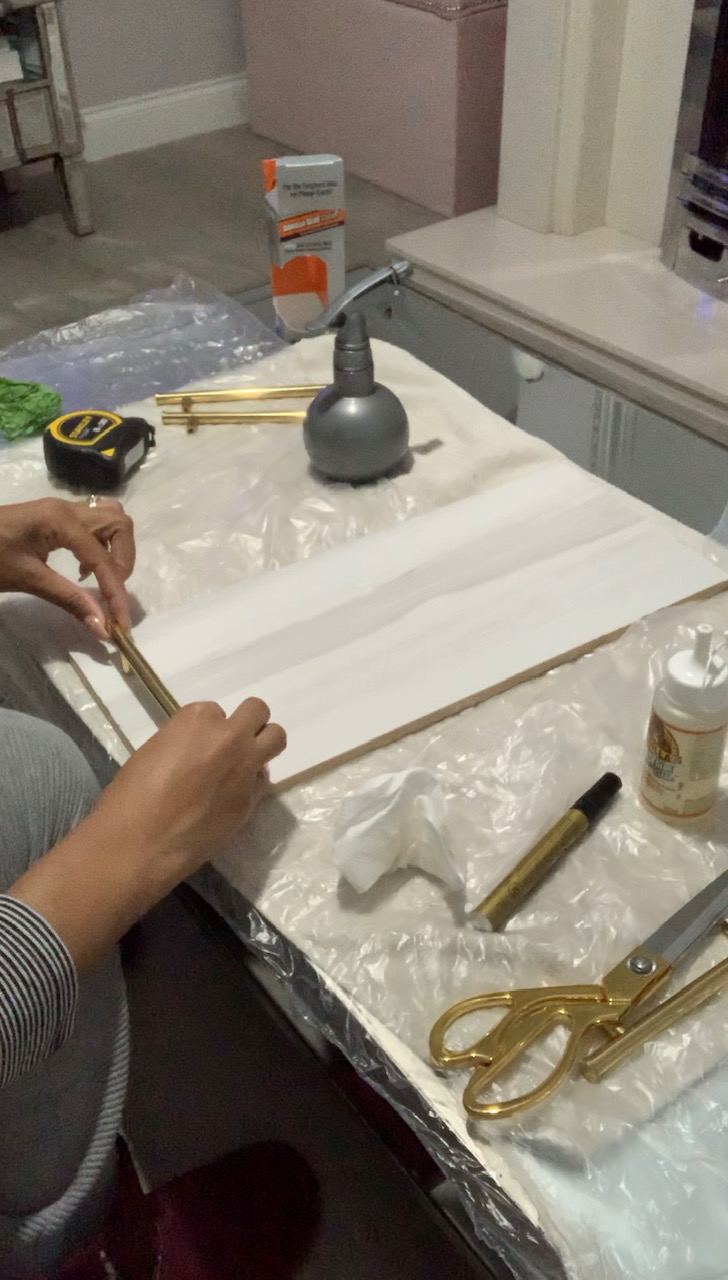
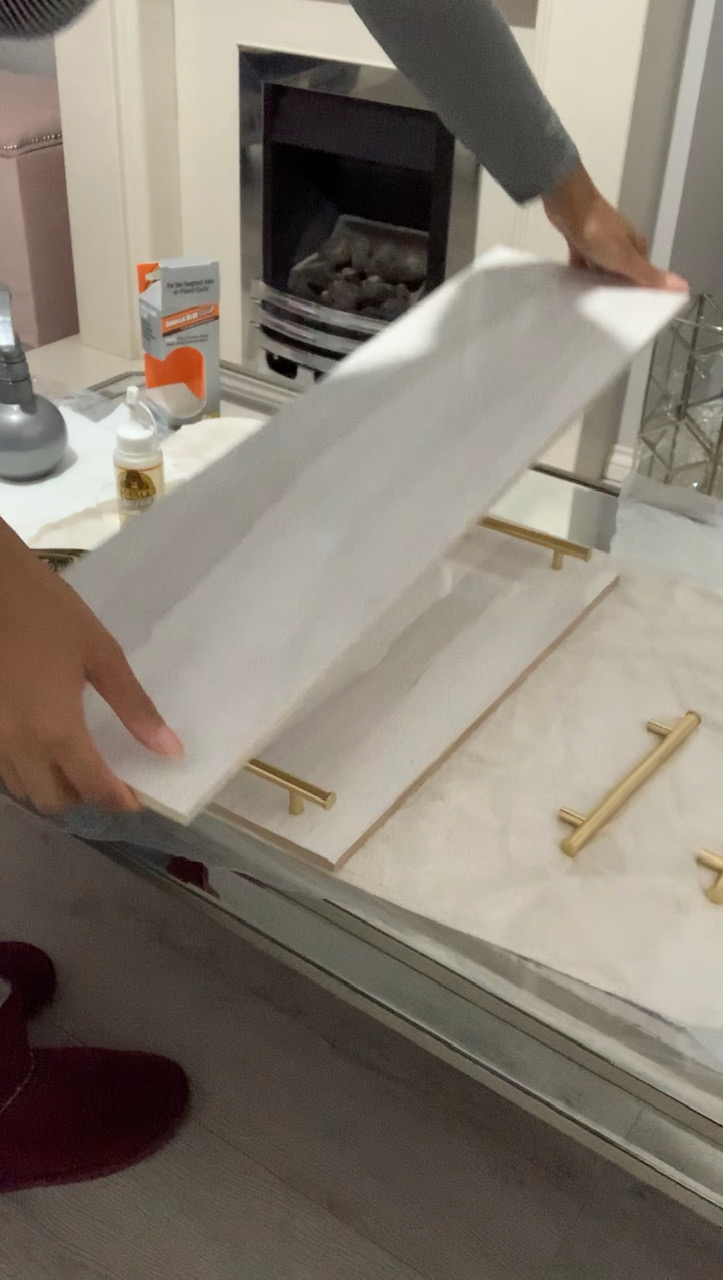
I repeated this for all 4 handles. I went for 4 to make it a little different, but you could just use 2 if you wanted. Once they were all glued on, I placed the remaining piece of tile on top to keep the tile and handles bound together (The Gorilla glue advised to keep the items together with binding tape, a clamp or something heavy.
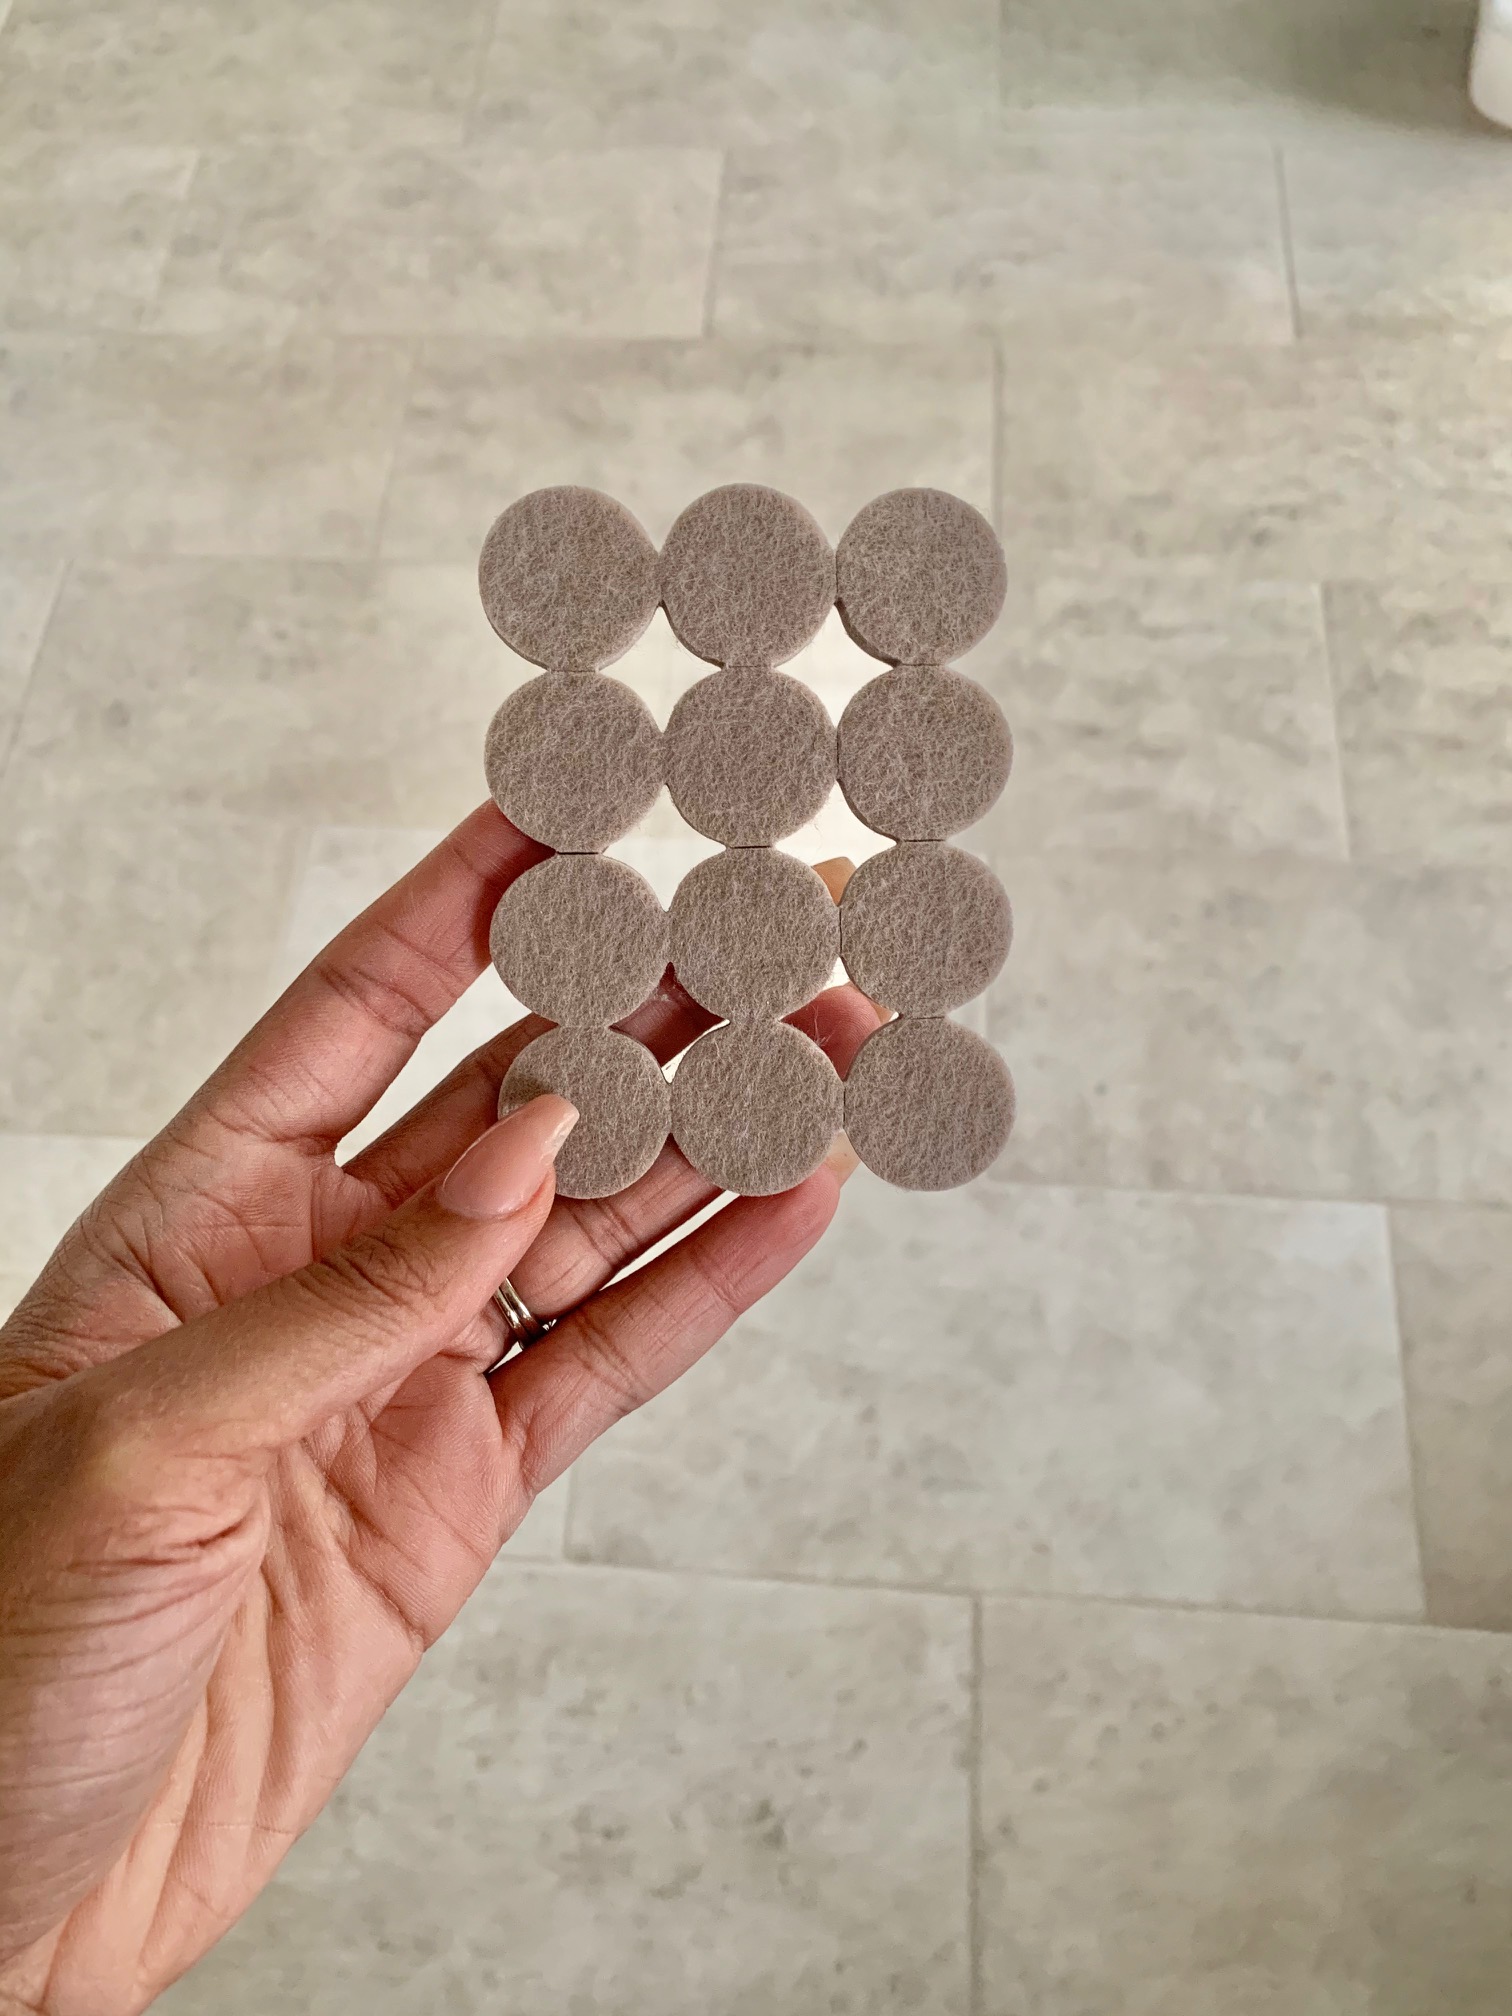
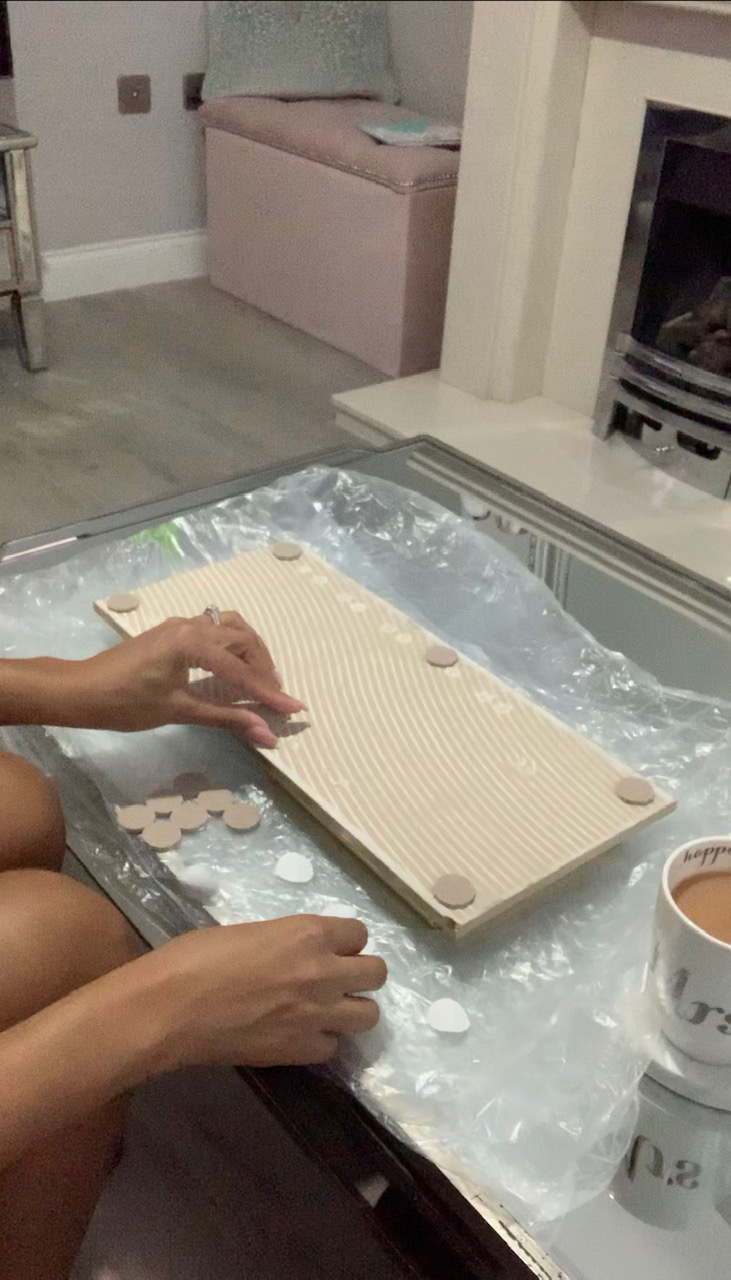
The last step of this project is the add the Adhesive felt pads to the base to protect whichever surface you place the tray on. My tile was very heavy, so I didn’t want it to scratch anything.
And here is the finished project; my DIY tile tray:

These are the products I used:
- Tile Sample- You could buy any shape you want, be imaginative
- Frogtape painters tape
- Acrylic Paint
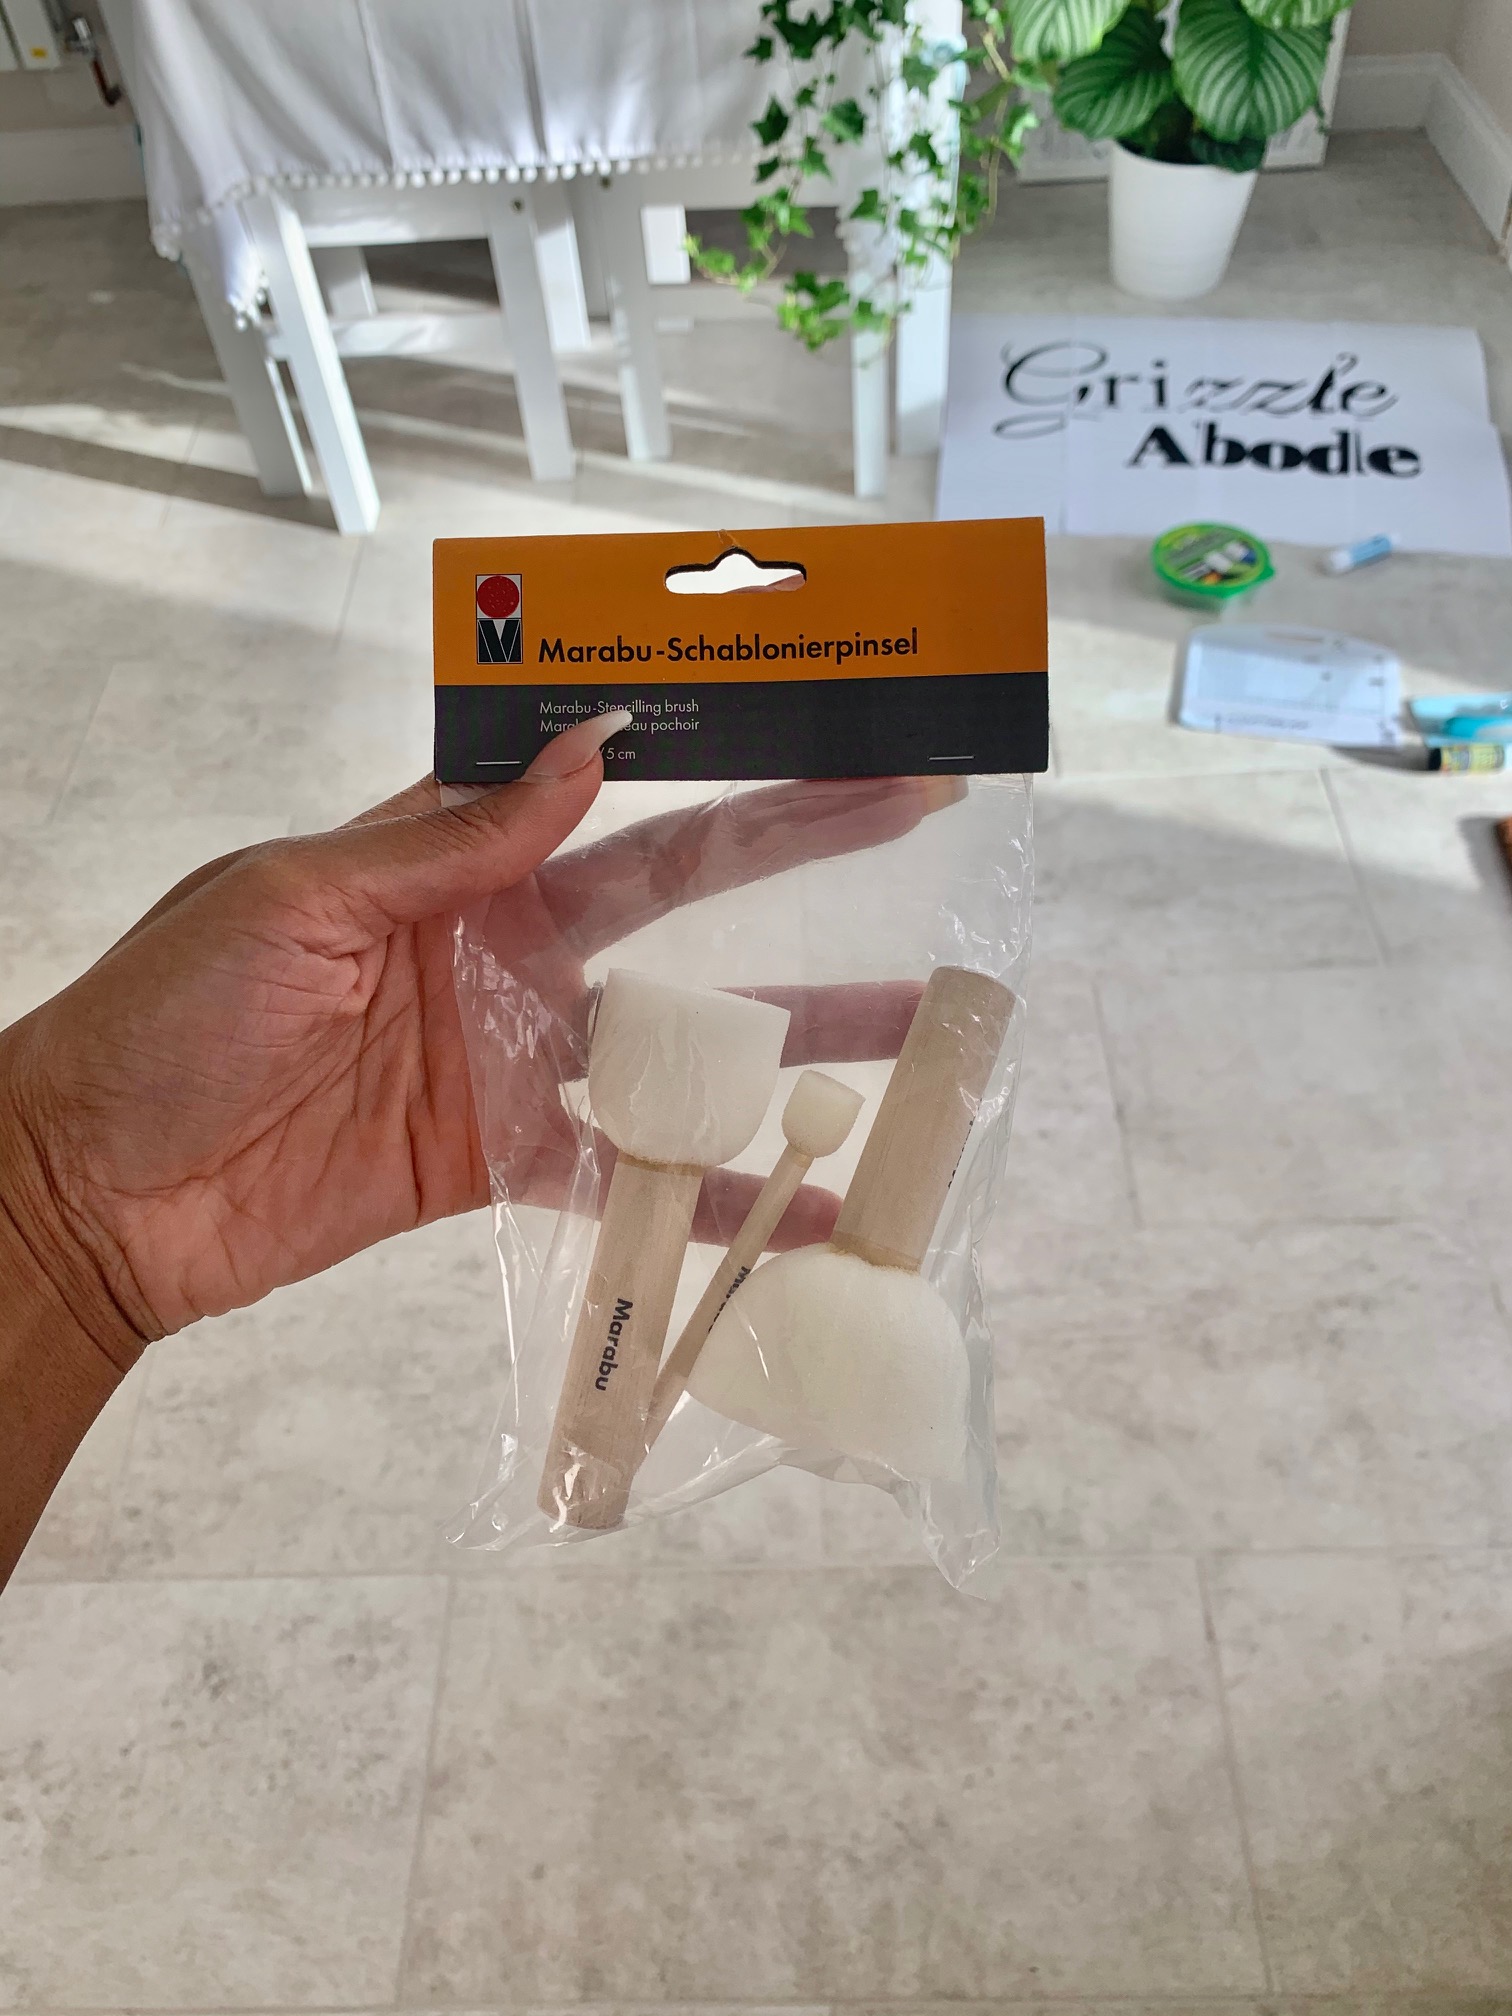
- Paint sponge– or any paint brush
- Gorilla Glue- Crystal Clear
- Door handles- Ours were a Facebook marketplace purchase. 11 handles for £4!!
- Adhesive felt pads
- Tile Sample- You could pick a tile which doesn’t need cutting (This was one we already had)
- Tile Cutter (If needed)